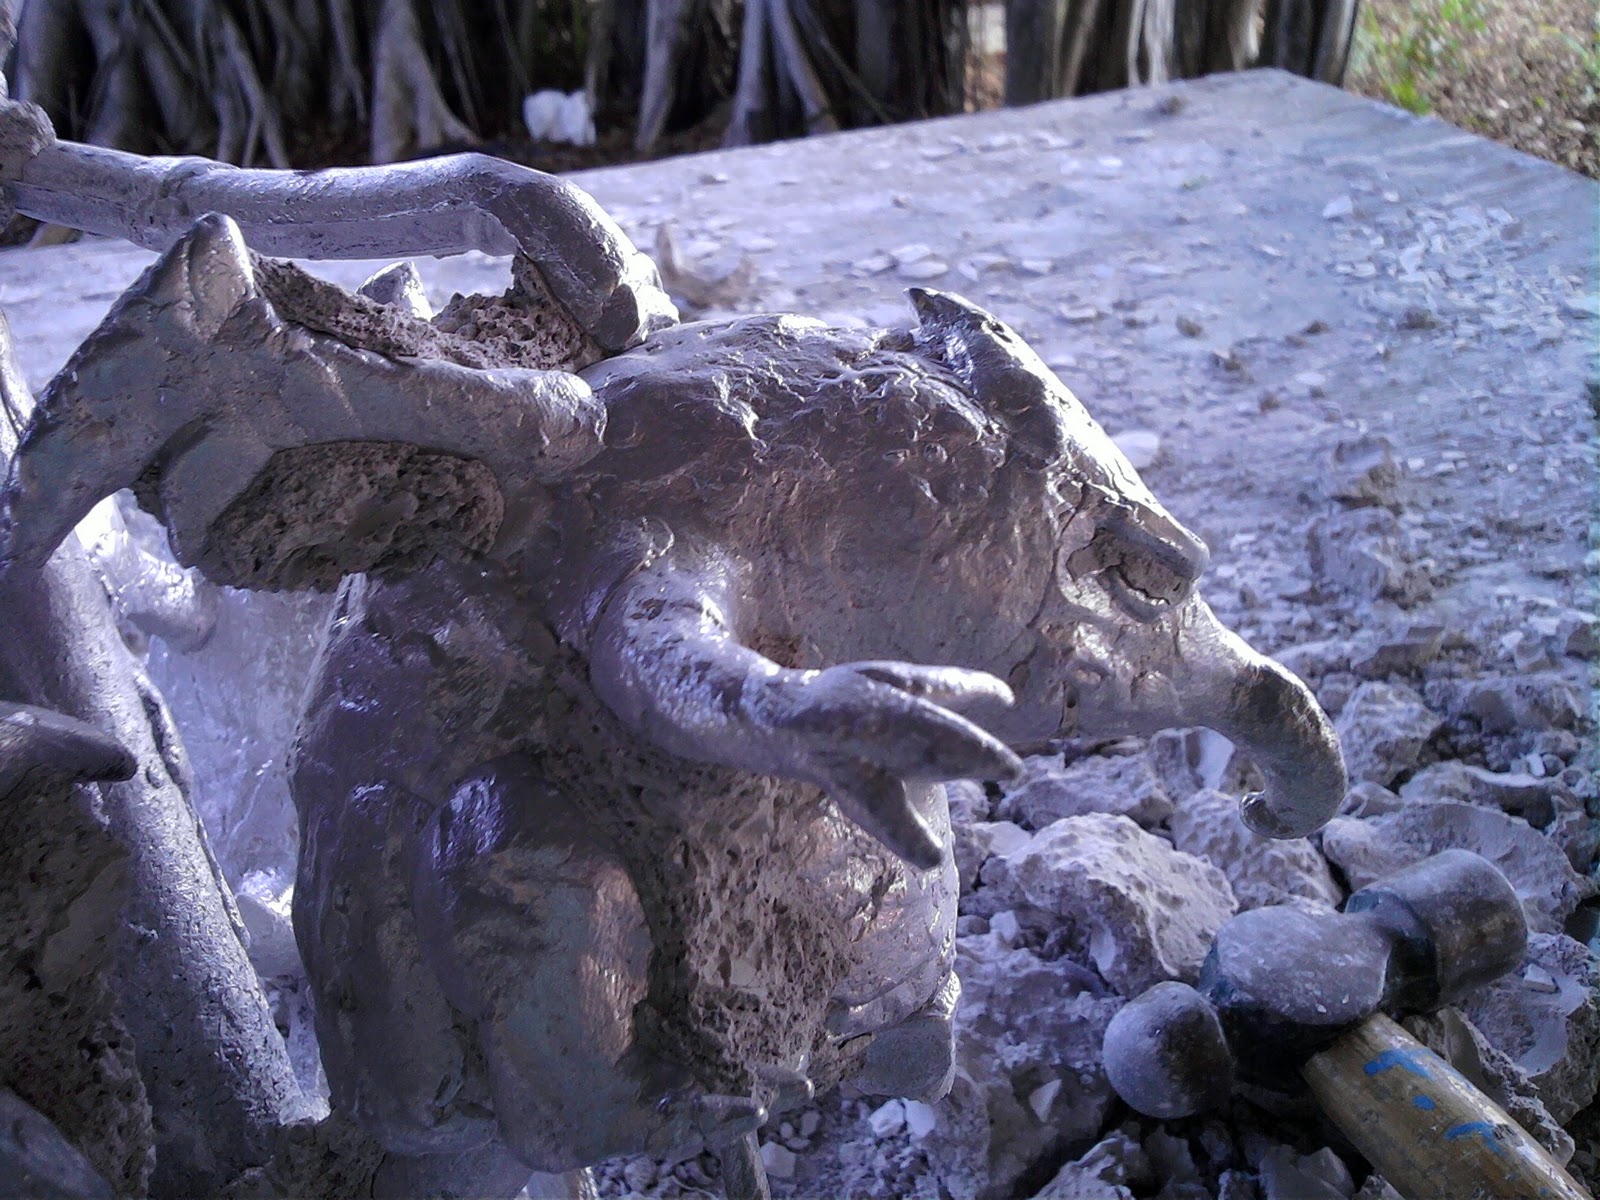
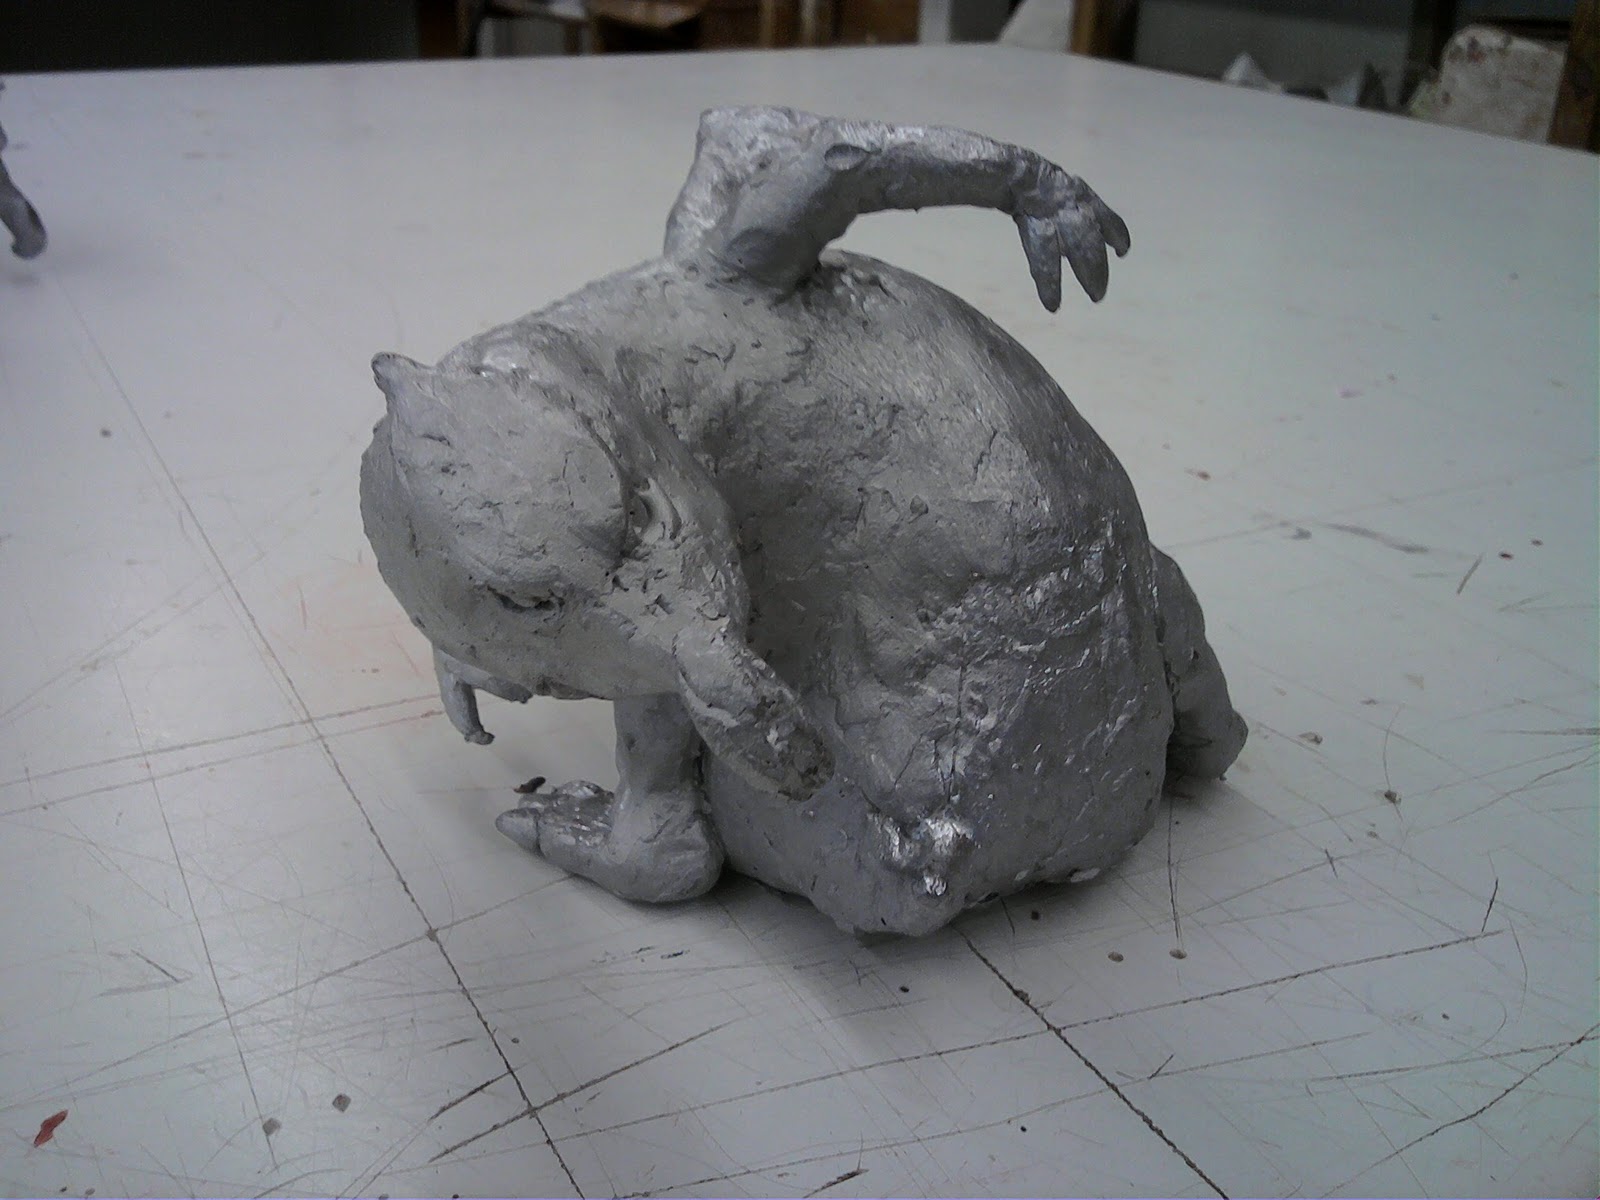
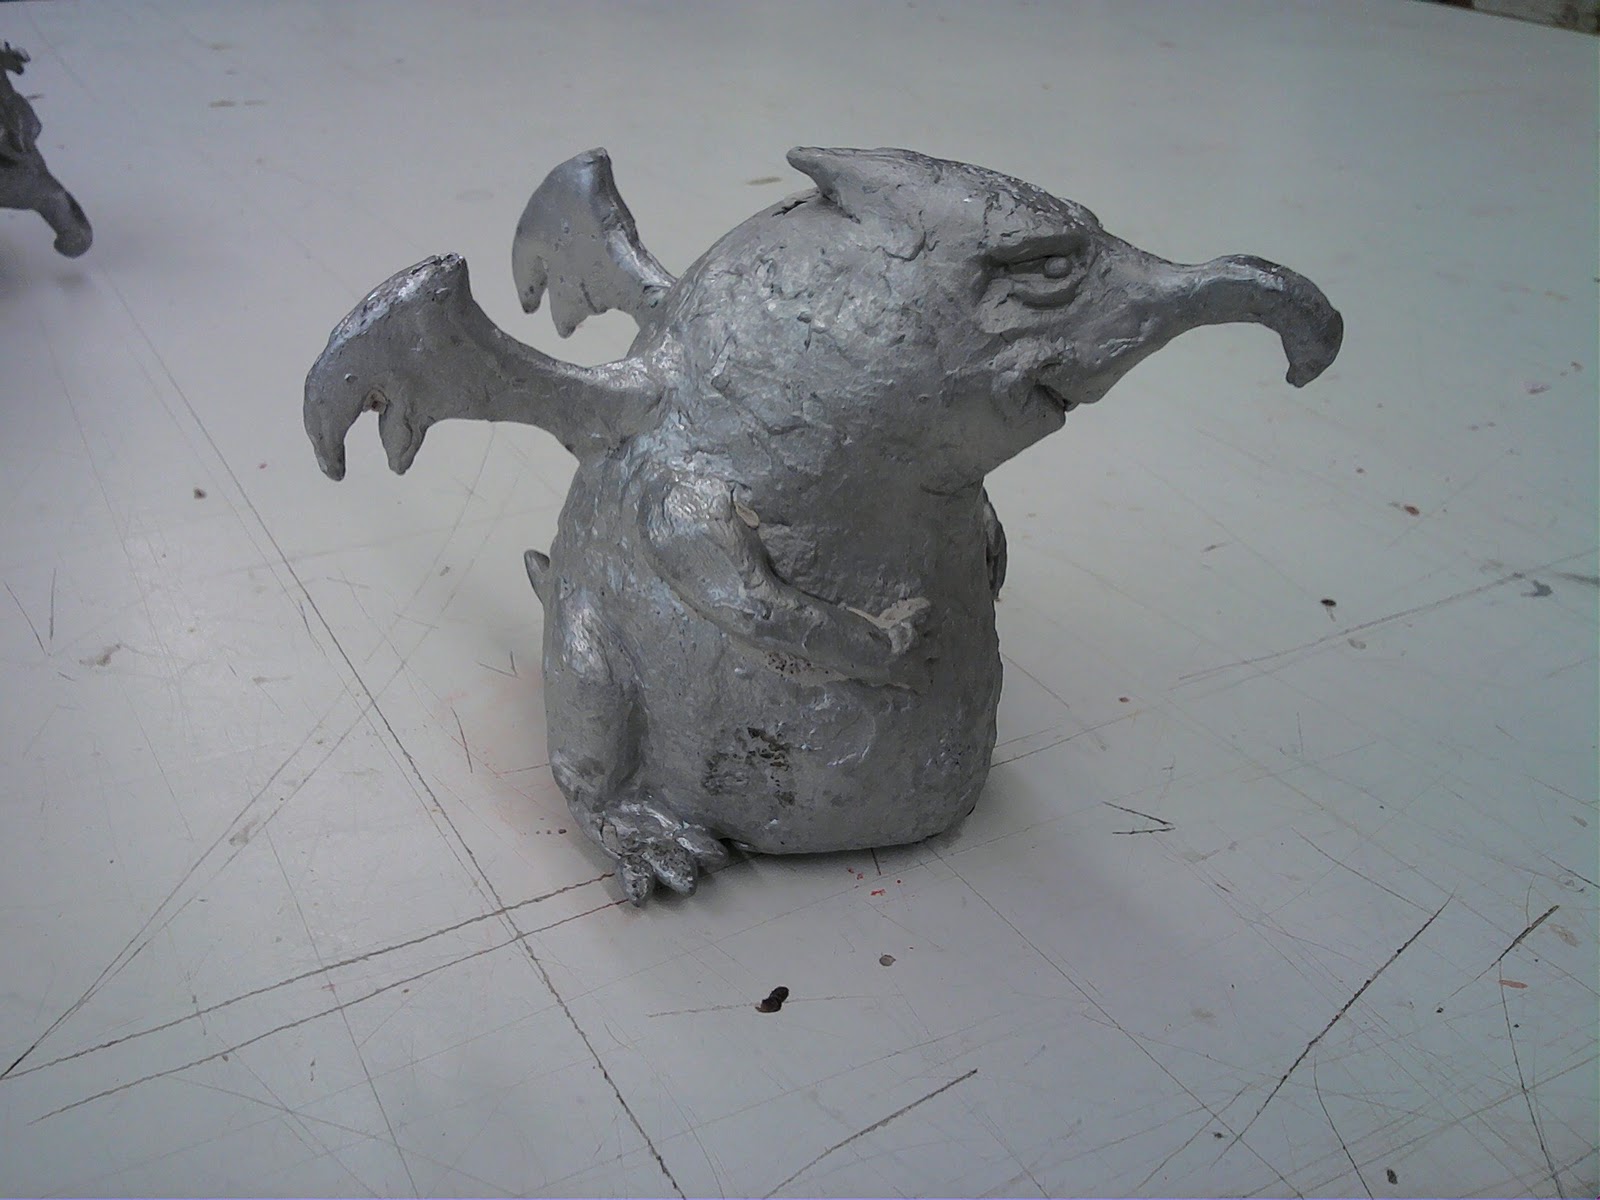
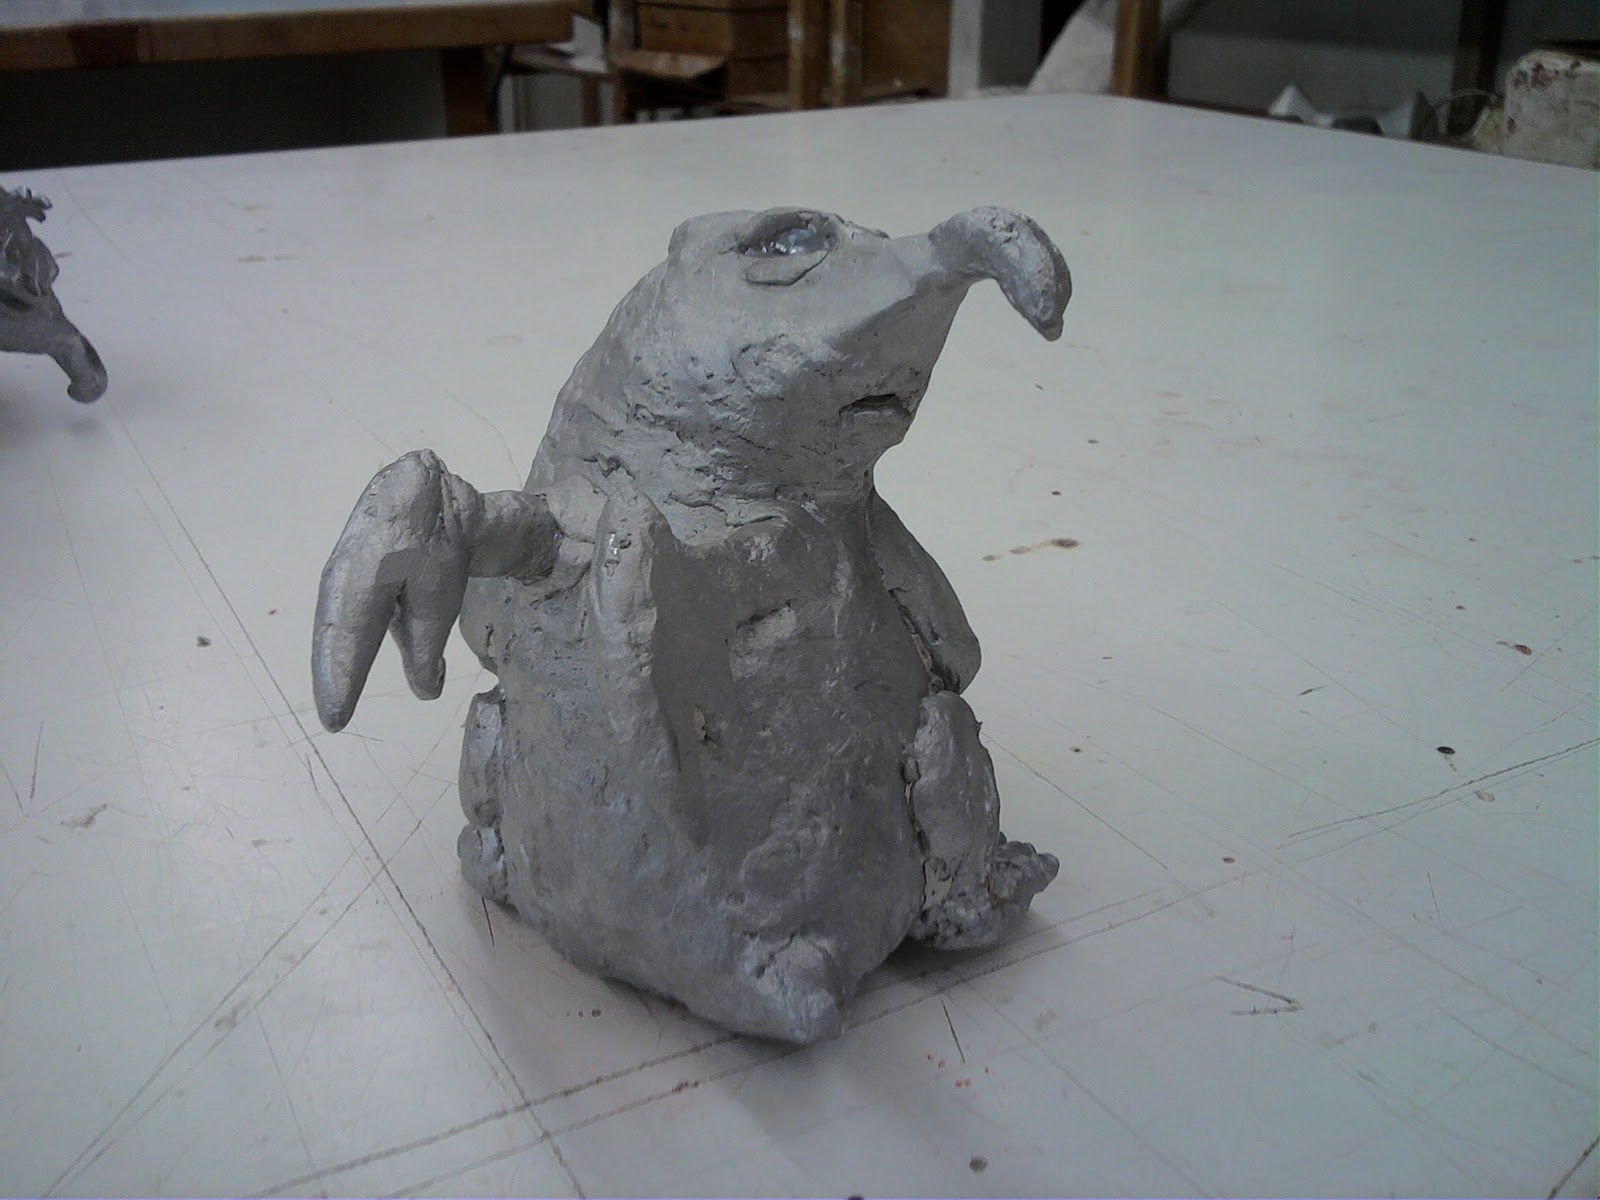
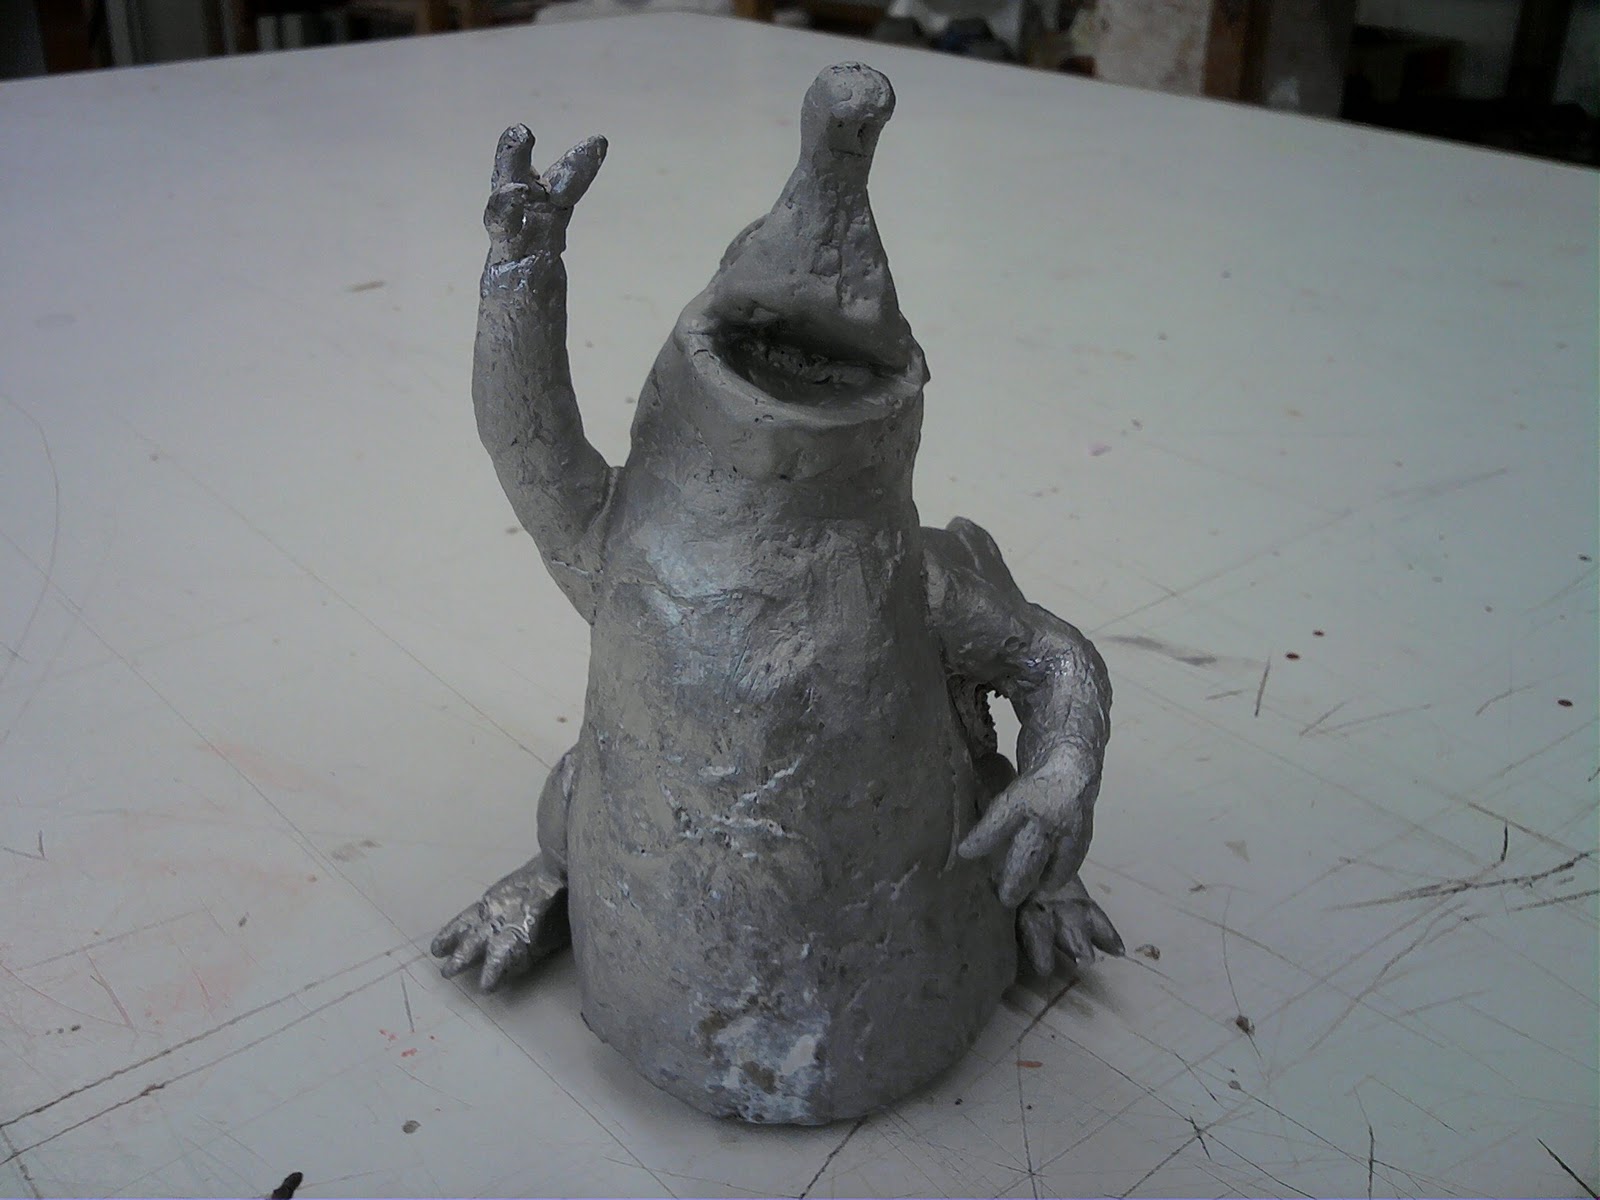
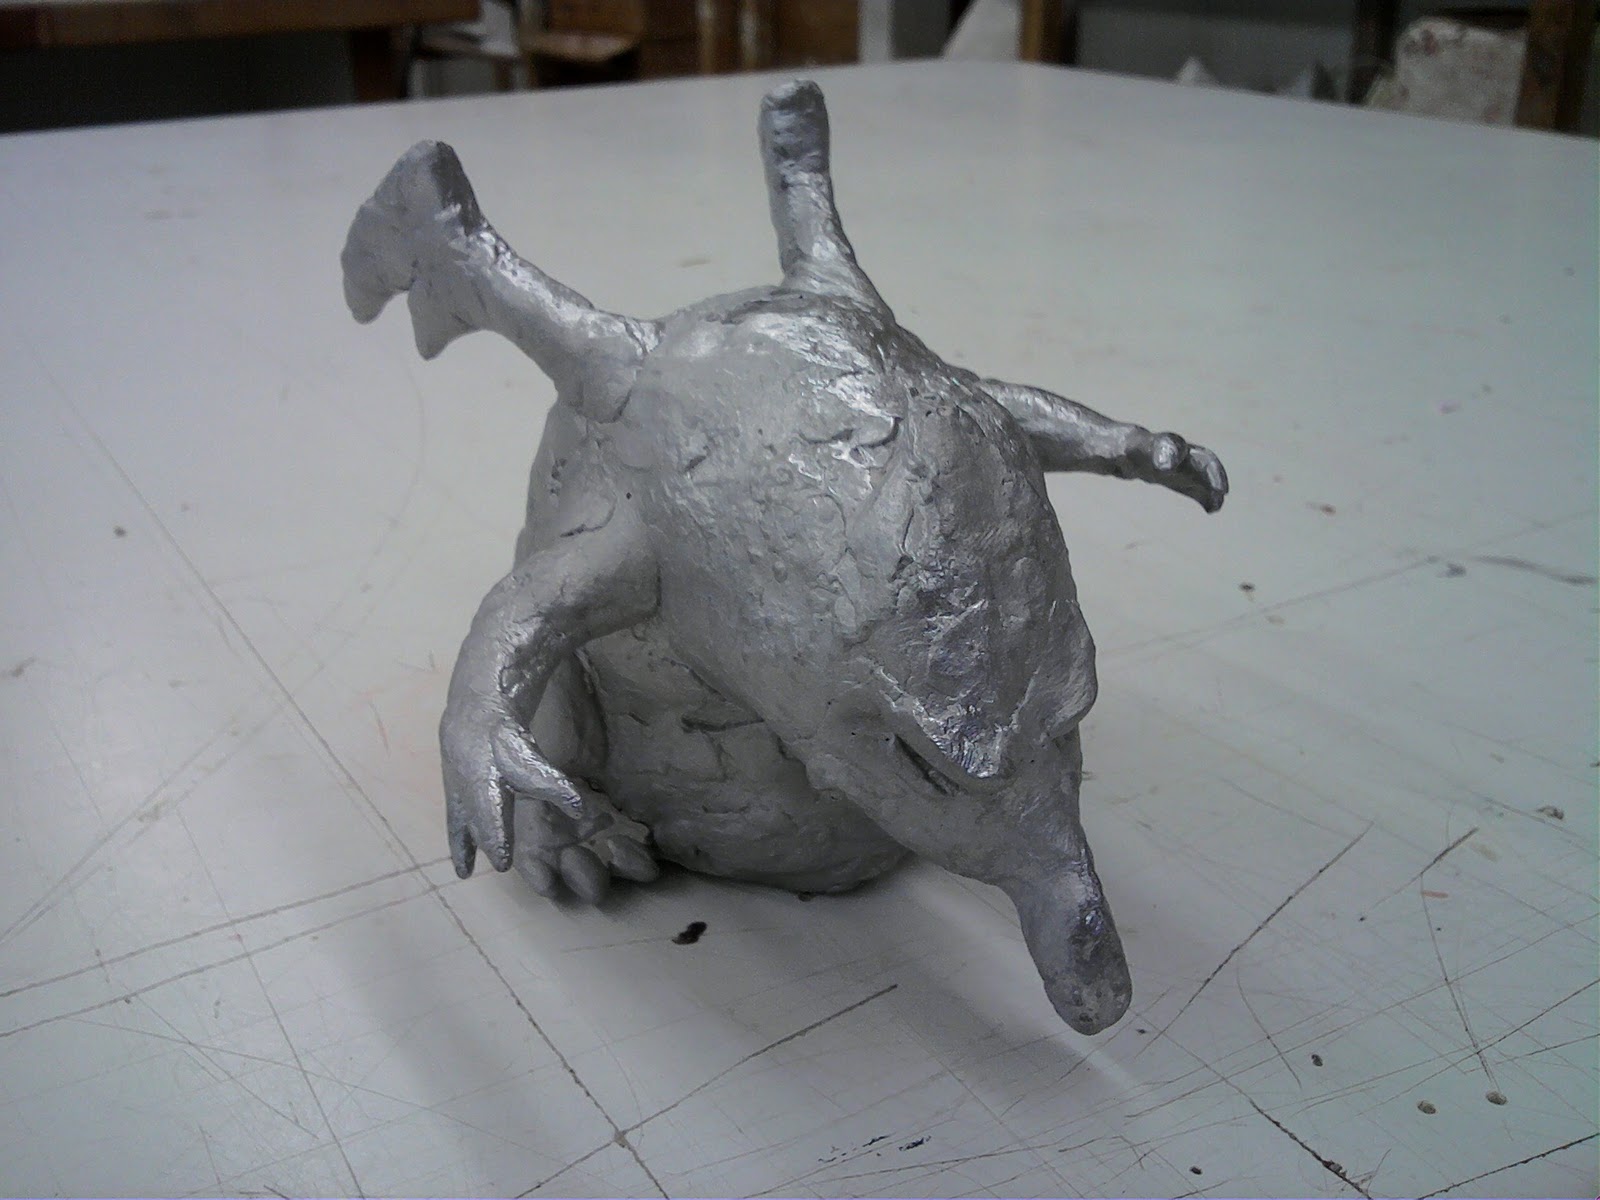
Gargolyle Character
So I really love this character I drew in my Drawing for Animators class and decided he deserved to be sculpted 🙂

After I sculpted the first one I thought it would be cool to do multiples of him and put him in different poses. So I used some Moulage to make a mold of him. Moulage is a type of alginate that is reusable. You can just microwave the moulage and it will melt it down. I put it in for a minute or so.
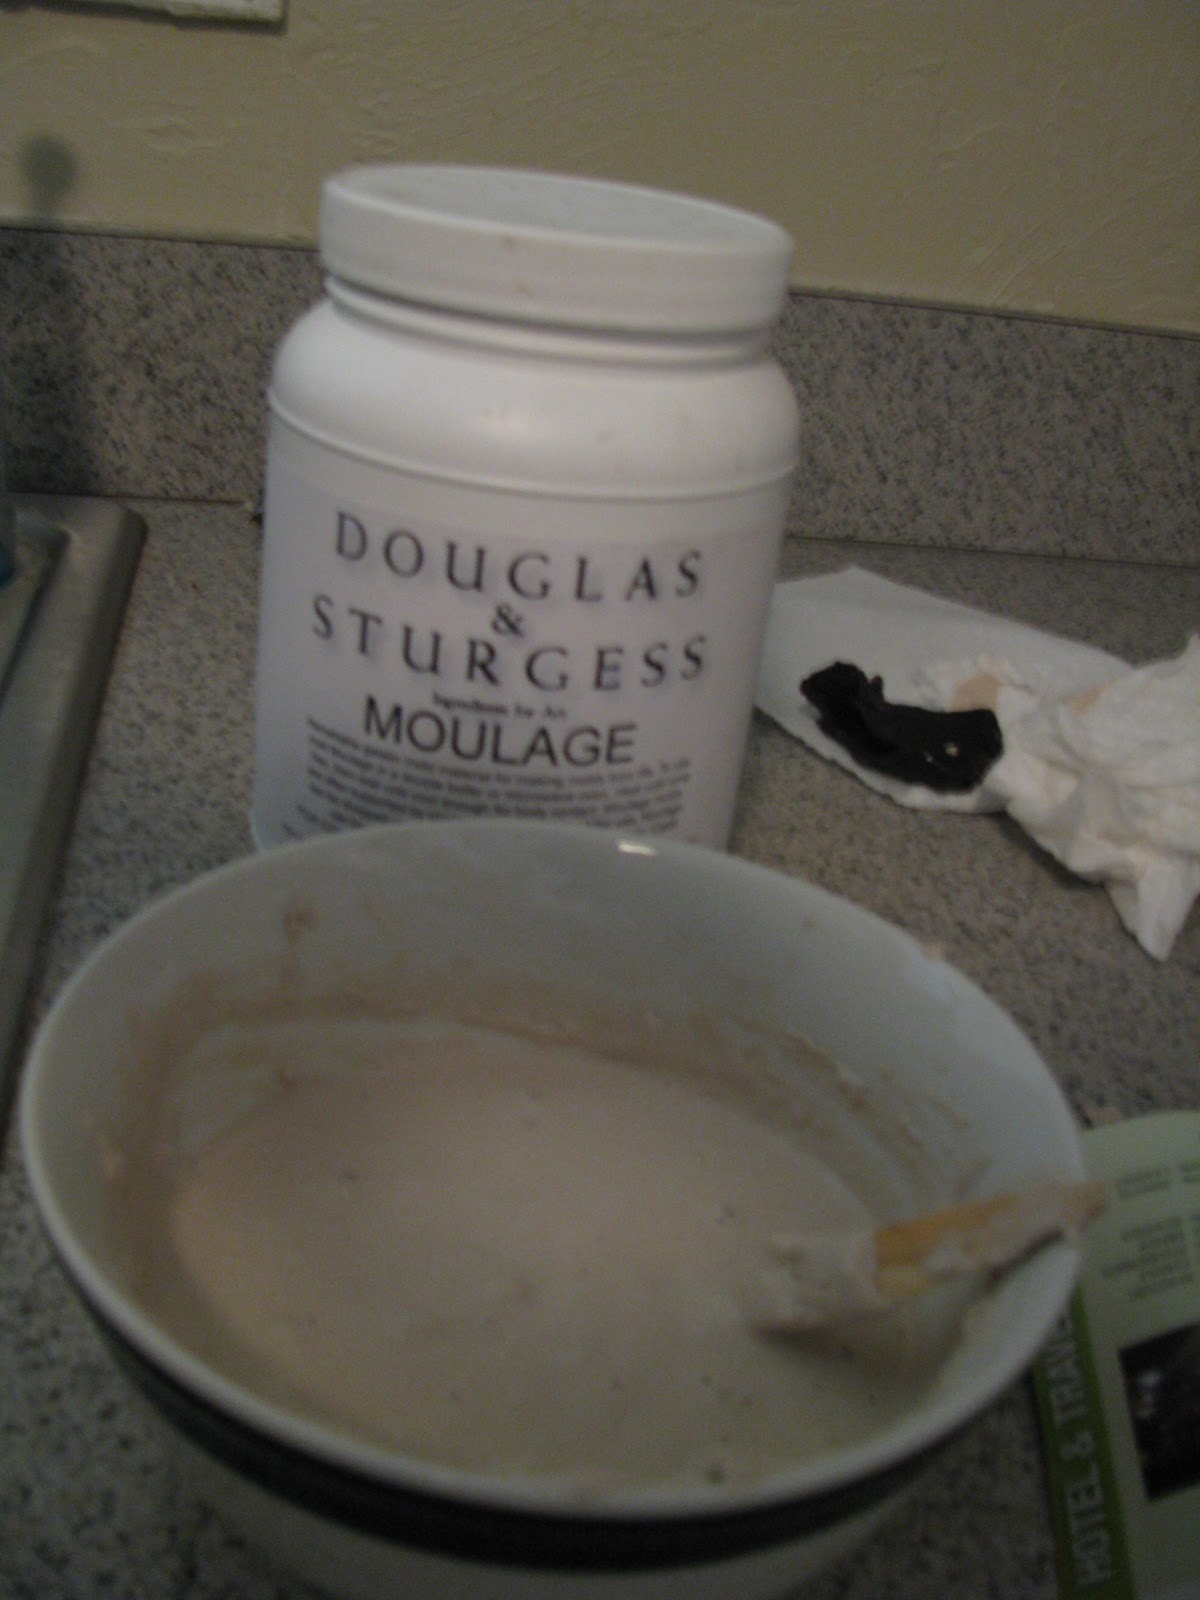
I used a piece of wood to apply the moulage (you don’t want to use aluminum tools to heat up, or work with the moulage because the moulage will react to it).
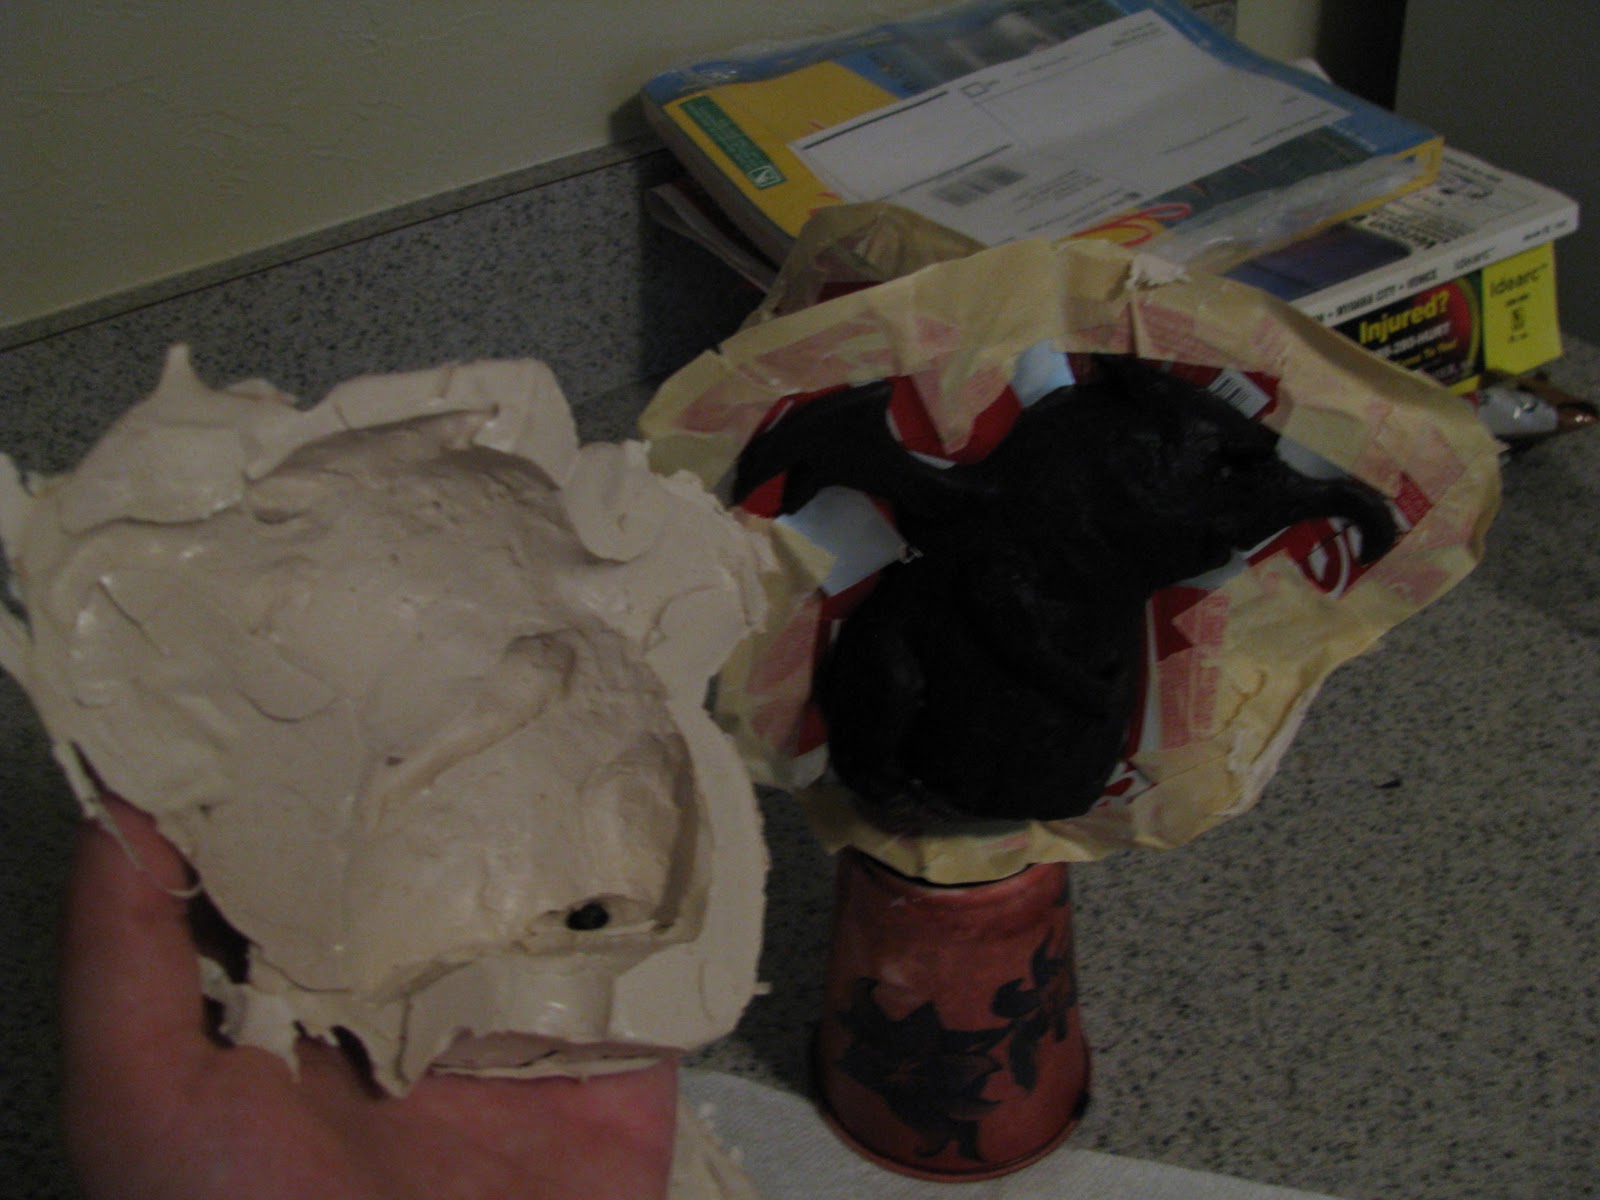
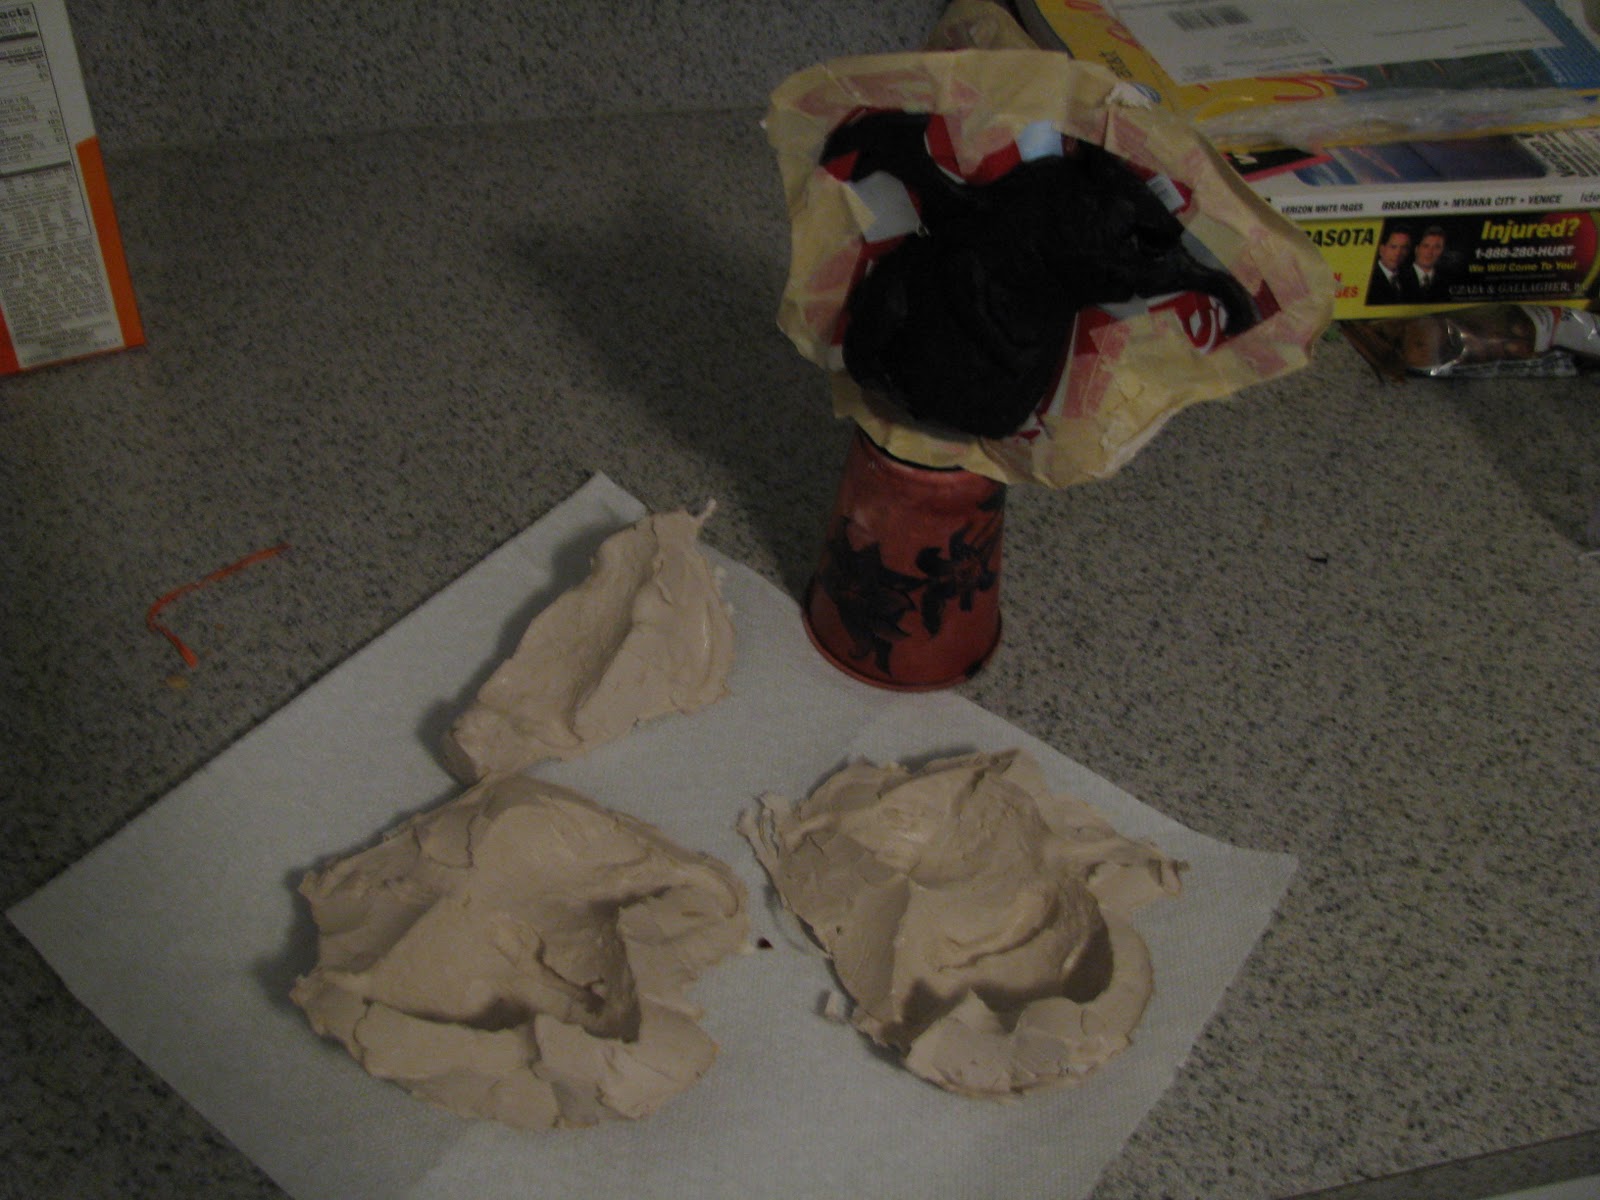
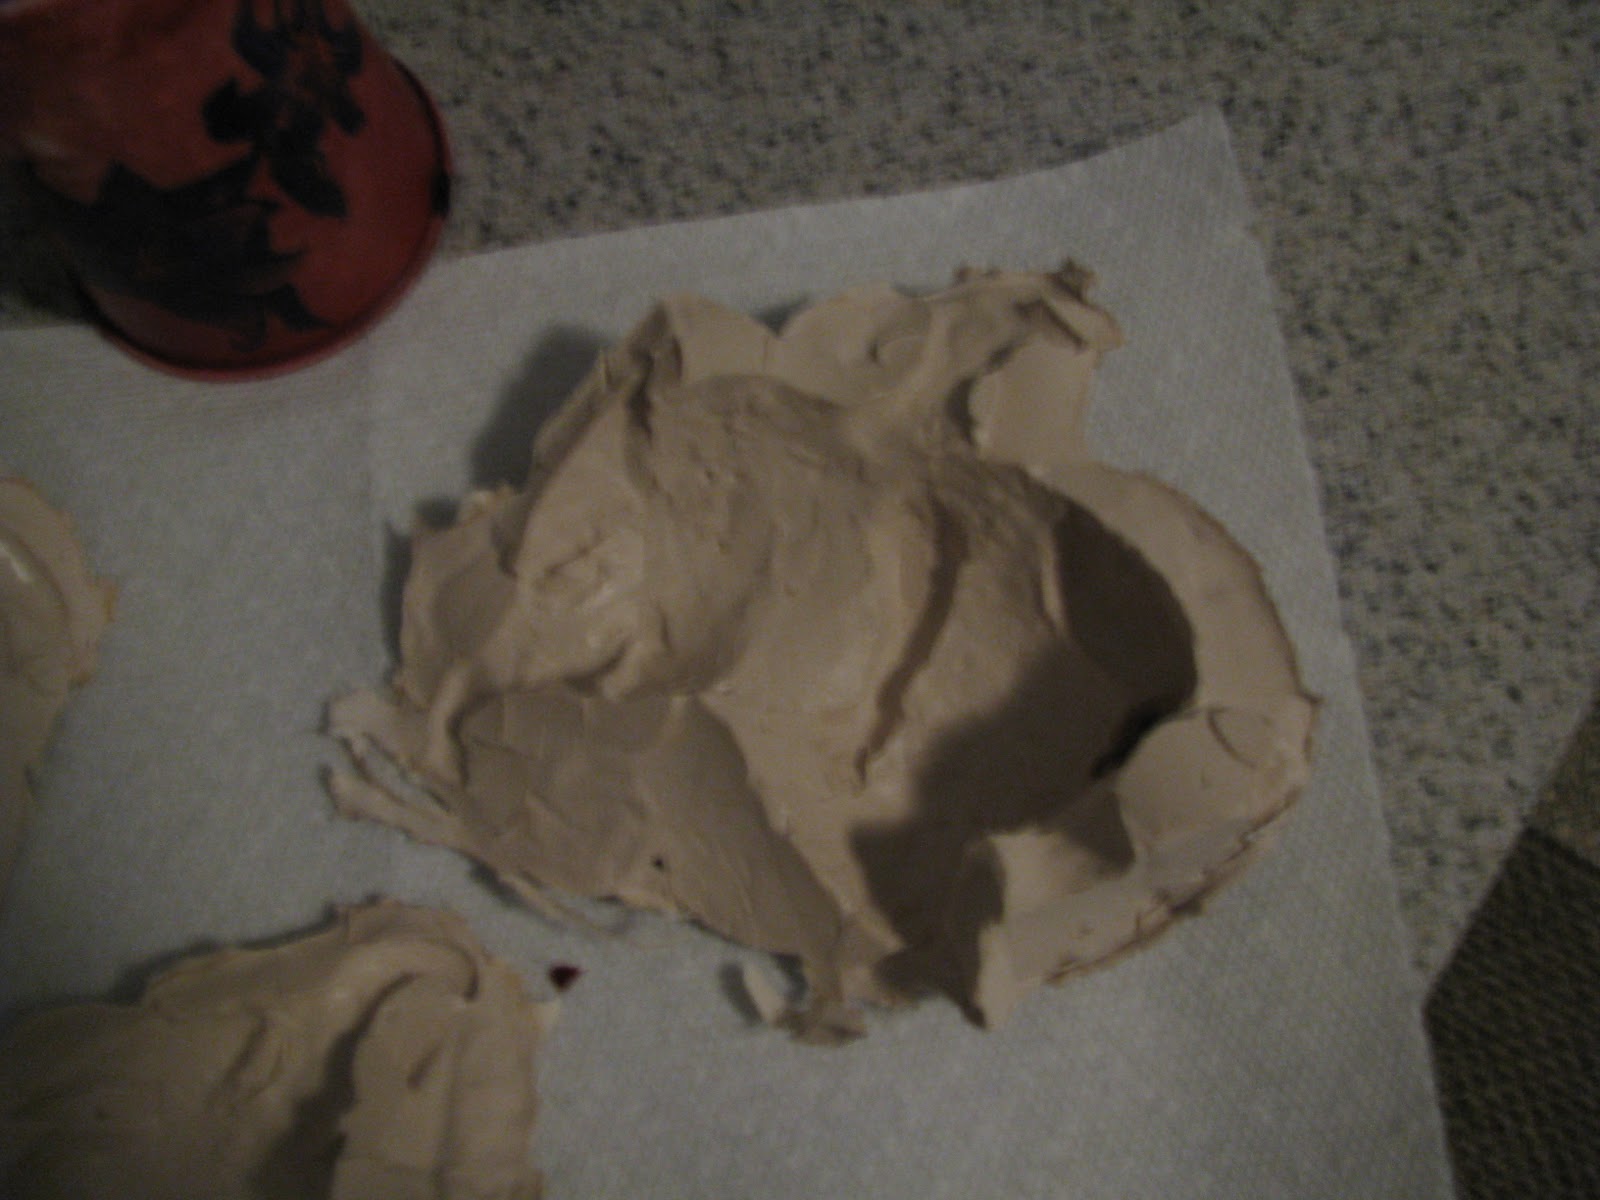
I waited for the moulage to cool and then I gently peeled off the mold. Moulage is pretty fragile so you have to be careful. You can use a hardener (I think it’s alum) to toughen the mold but I didn’t need to reuse this mold many times.
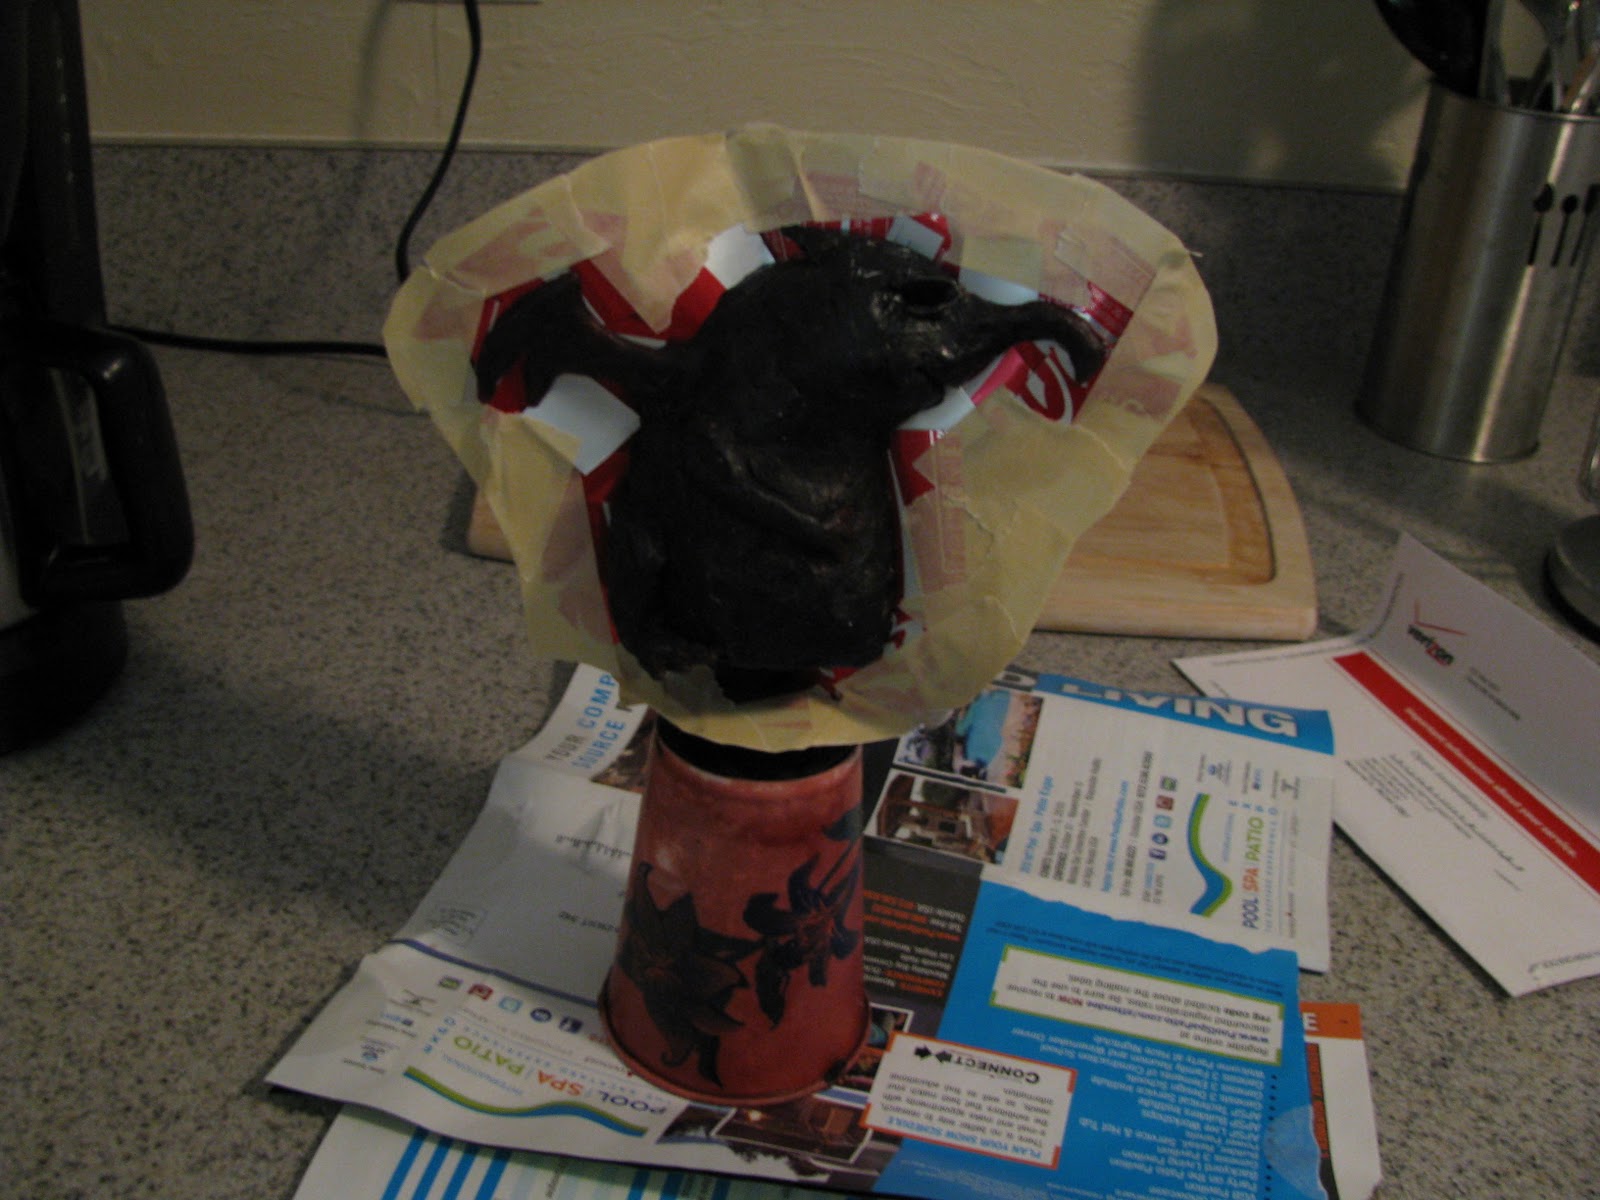
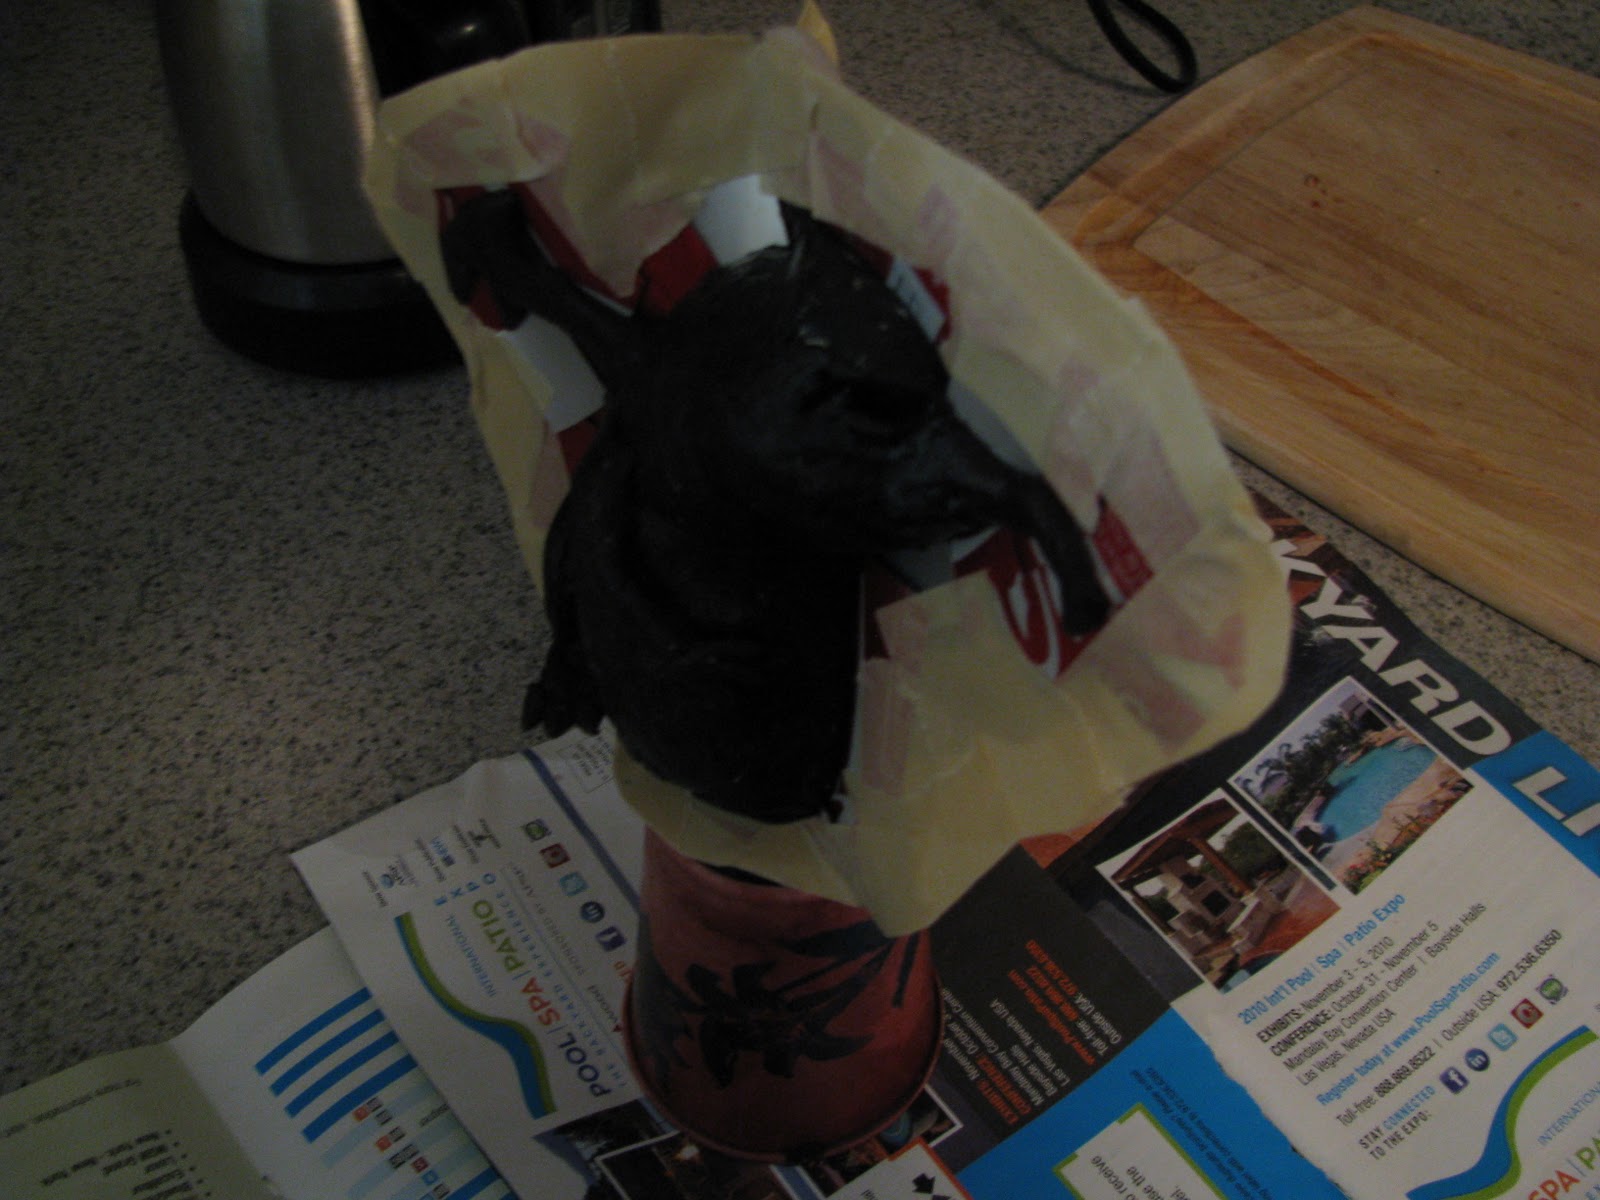
I made a three part mold. I was considering making a plaster mother mold to hold it all together, but again I wasn’t going to make many multiples with this mold.
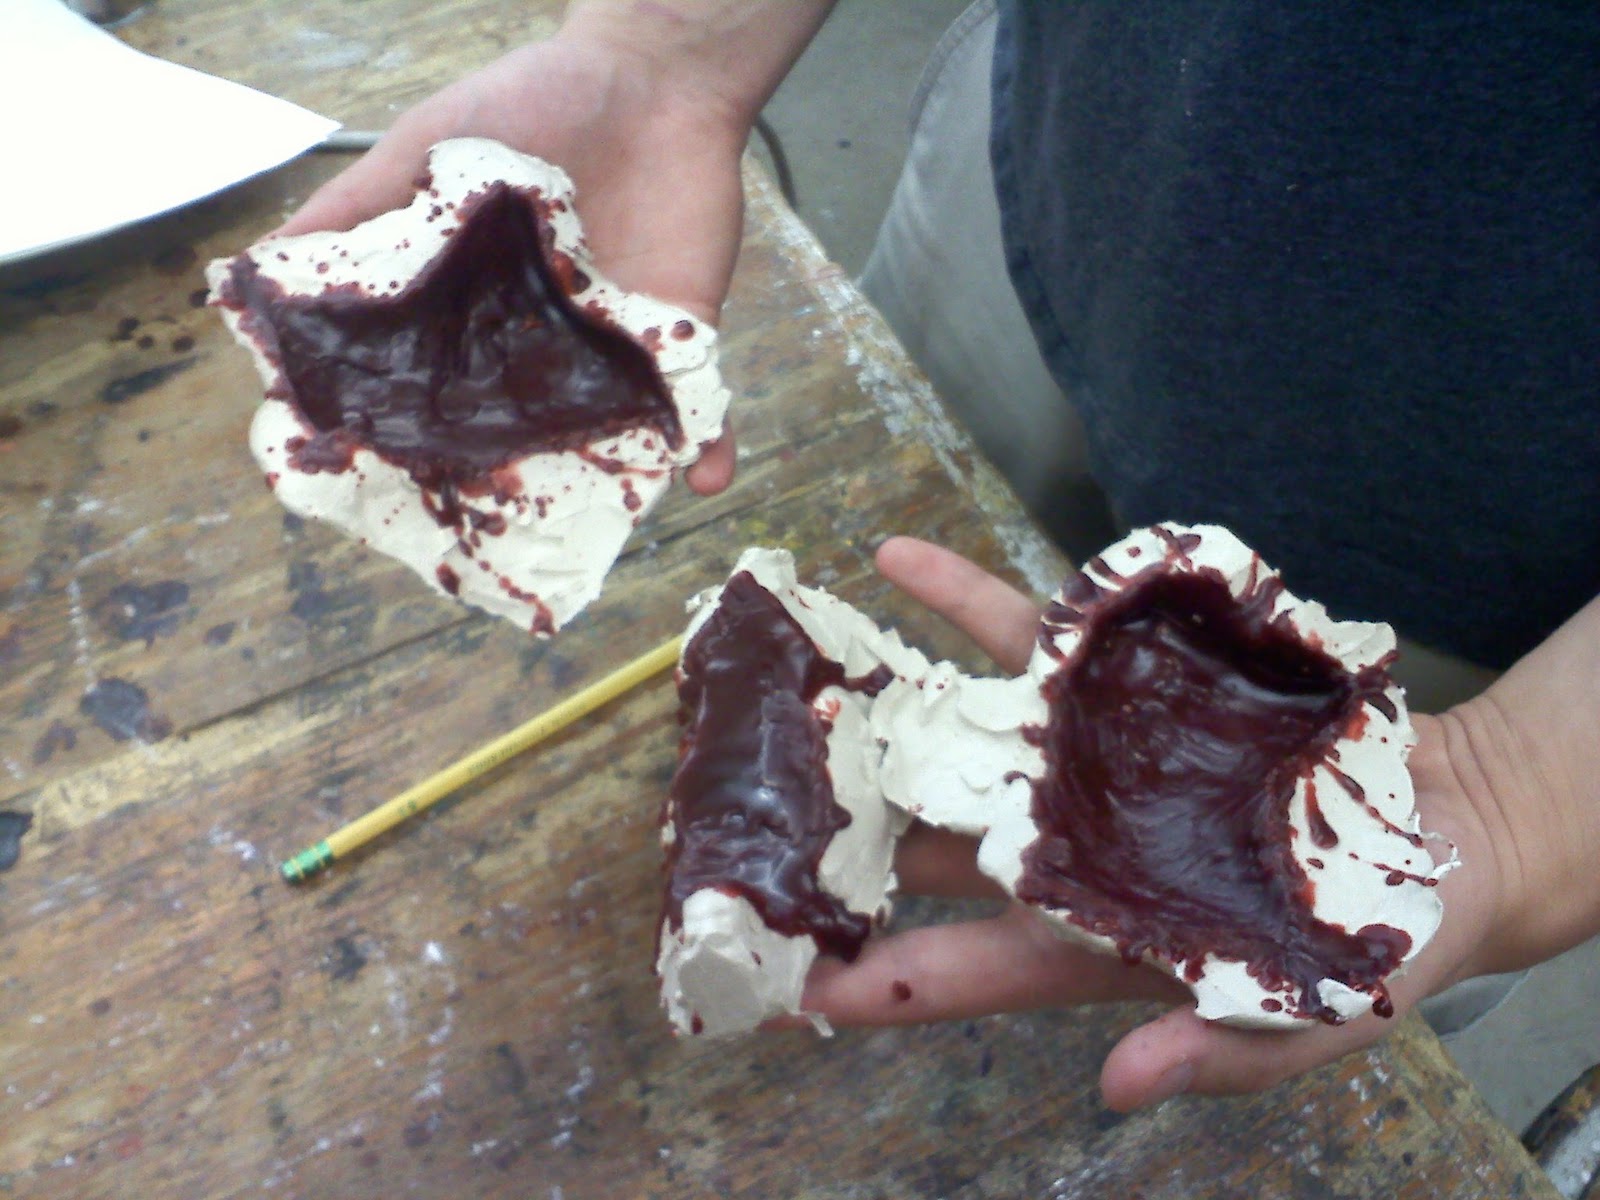


Hindsight is 20/20. I realized after I made it I should have cut off the characters arms and legs and wings and then made the mold because I would be posing this guy in different poses. This would have also allowed me to just use a two part mold rather than a three part.
I didn’t make any form or registration so I couldn’t just pour the wax into the moulage mold. I ended up cutting off the arms and legs and patching the three pieces together using a soft purple wax.
I’ll post some more updates on my progress as I work on this little series of sculptures 🙂
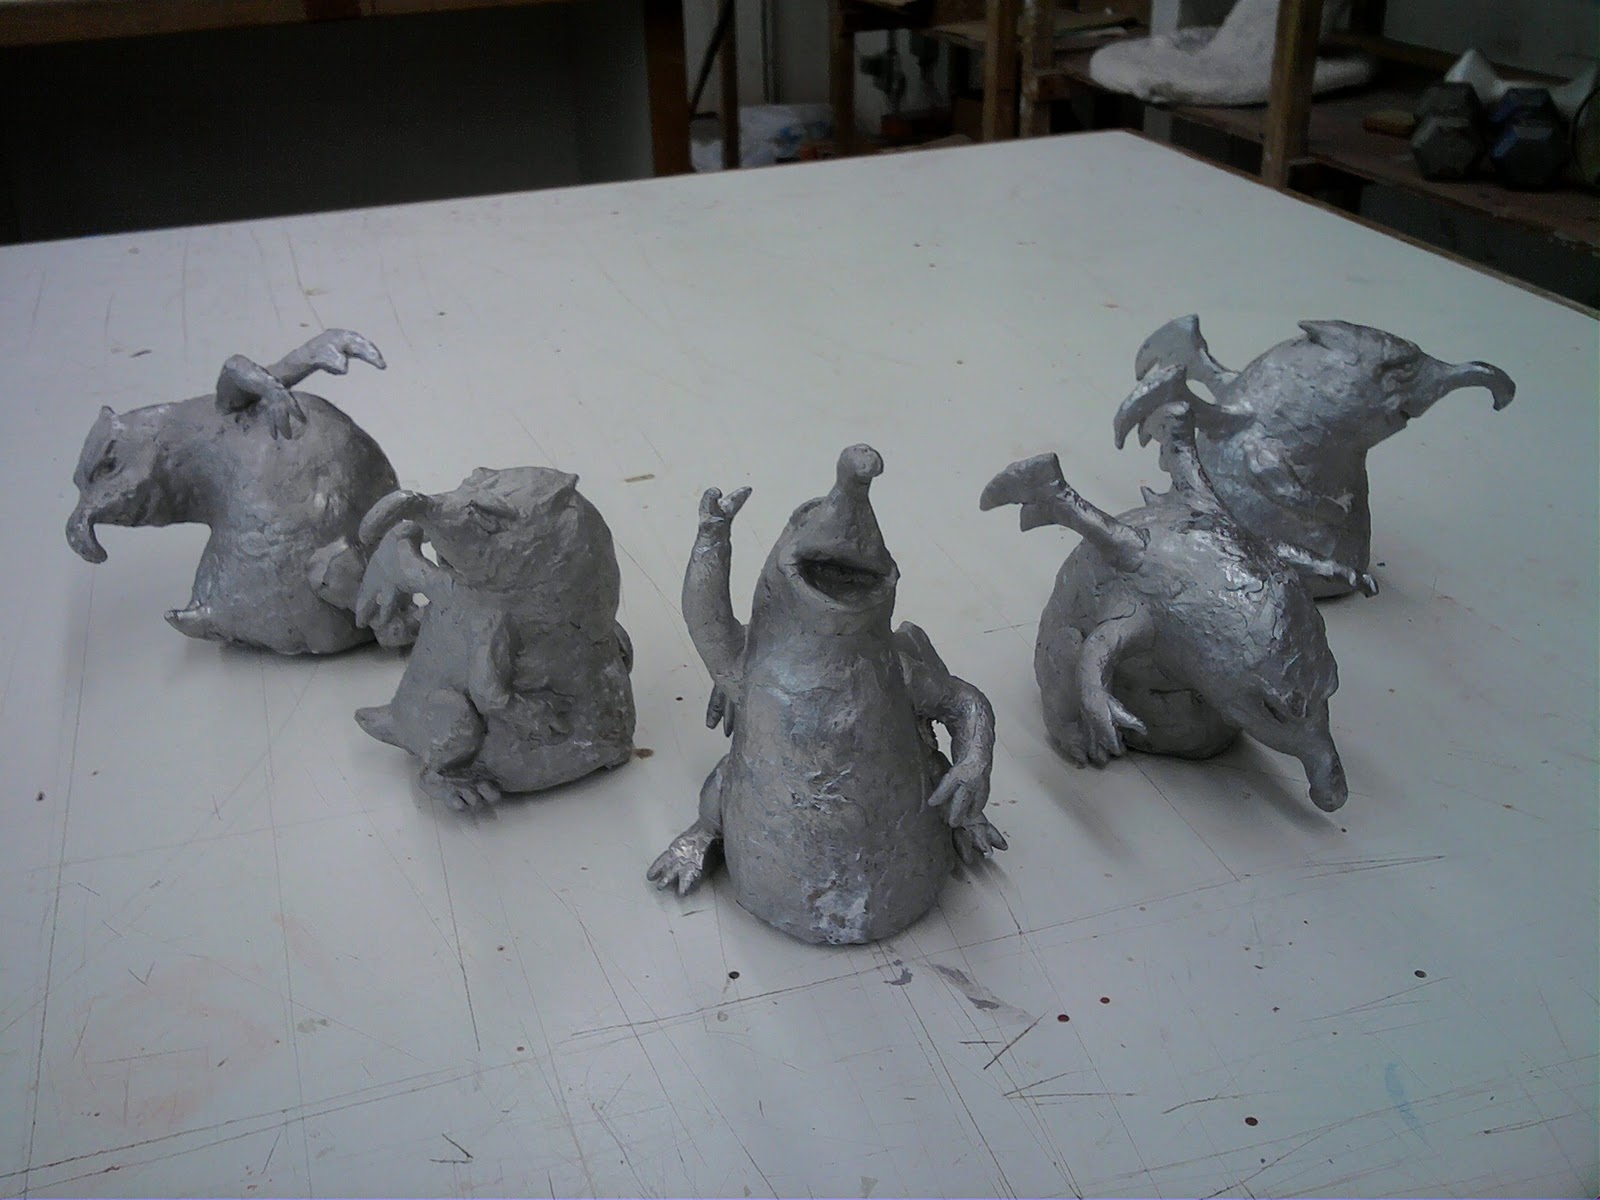
Update: 10/5/2010
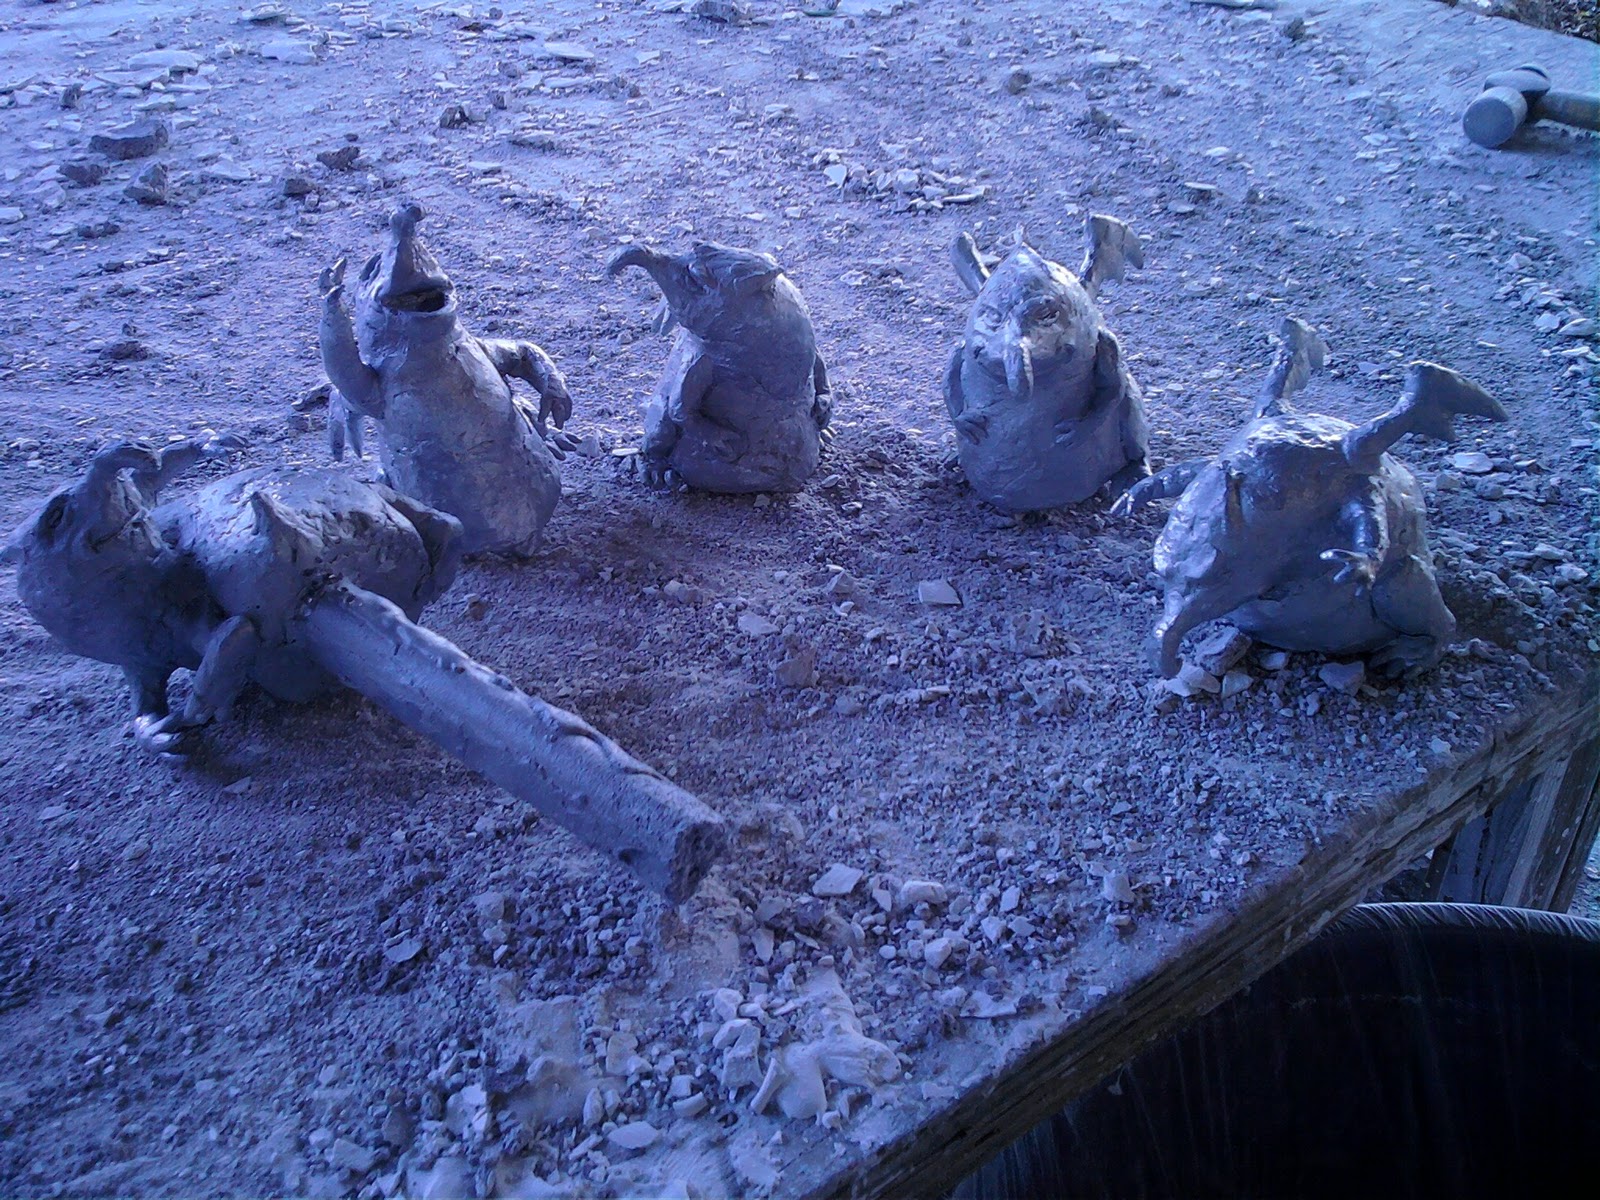
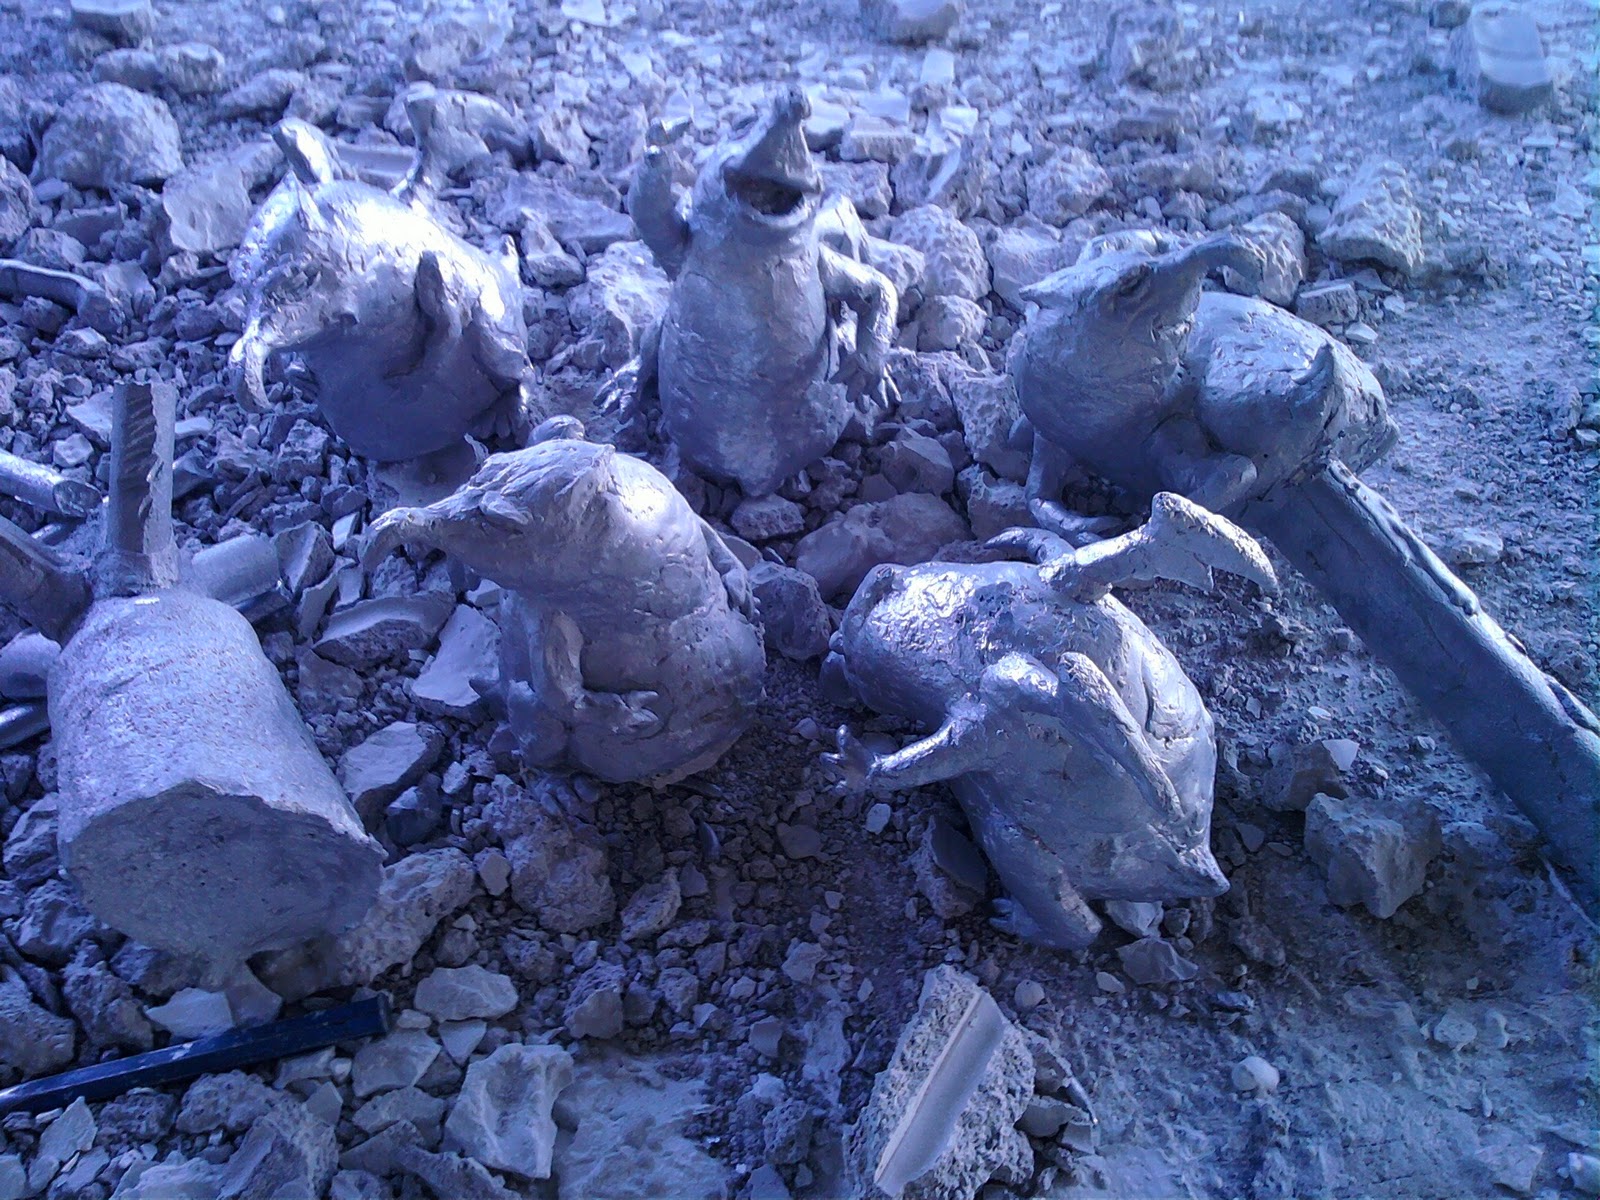
I finished posing all of my wax gargoyles. Now all I have to do is sprue them up and make a mold of them and then cast them in aluminum 🙂


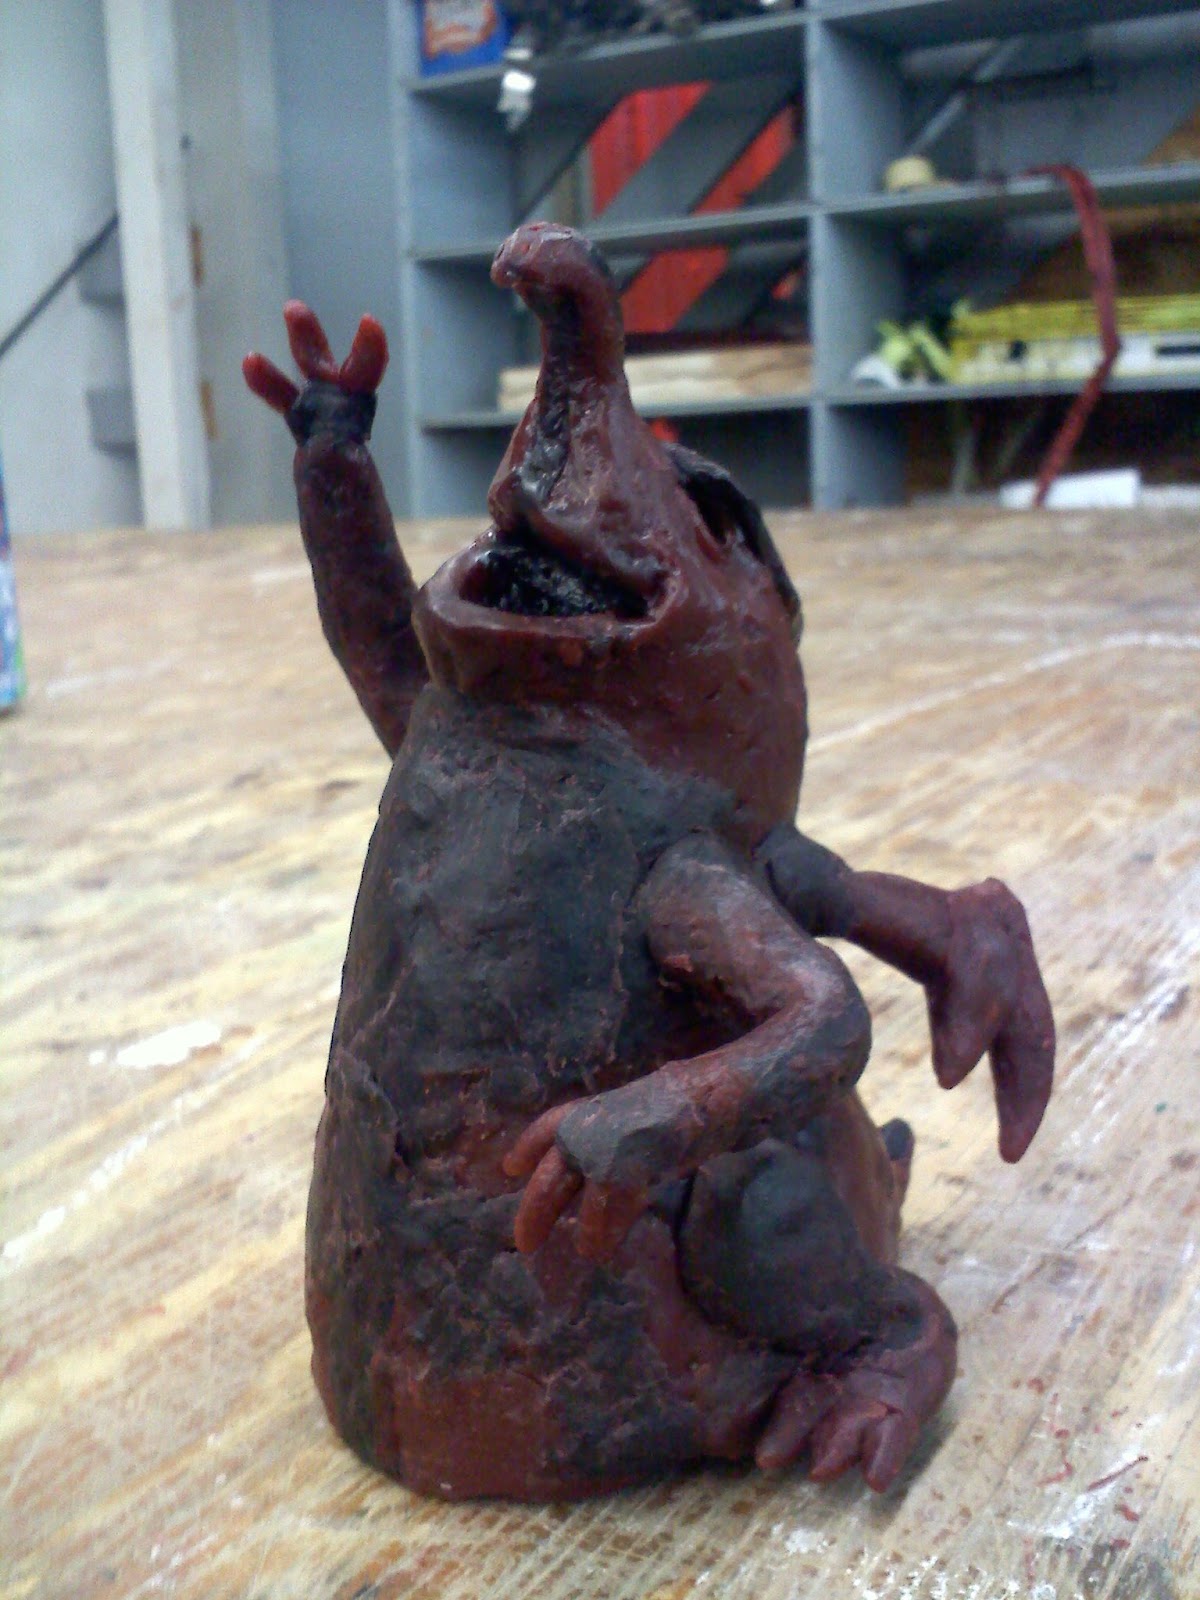


I’m really excited about these little guys! They are coming out great 🙂
Update 10/15/2010
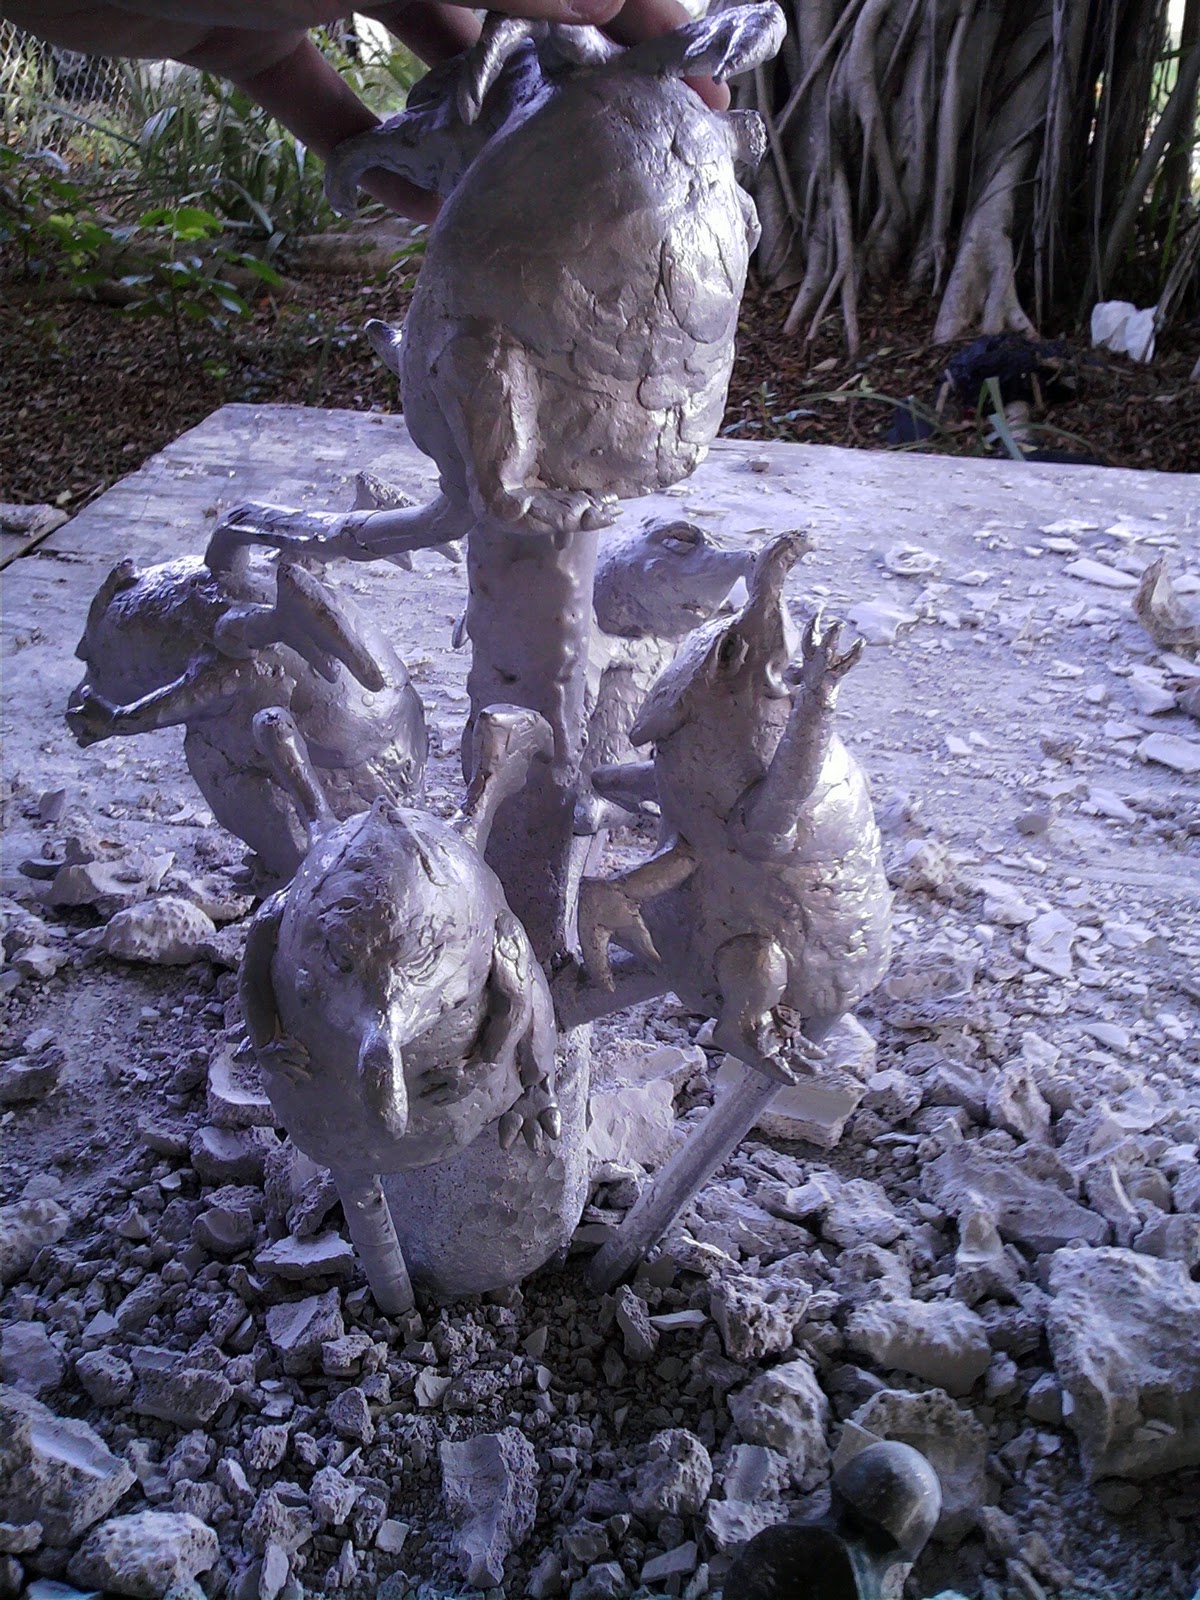
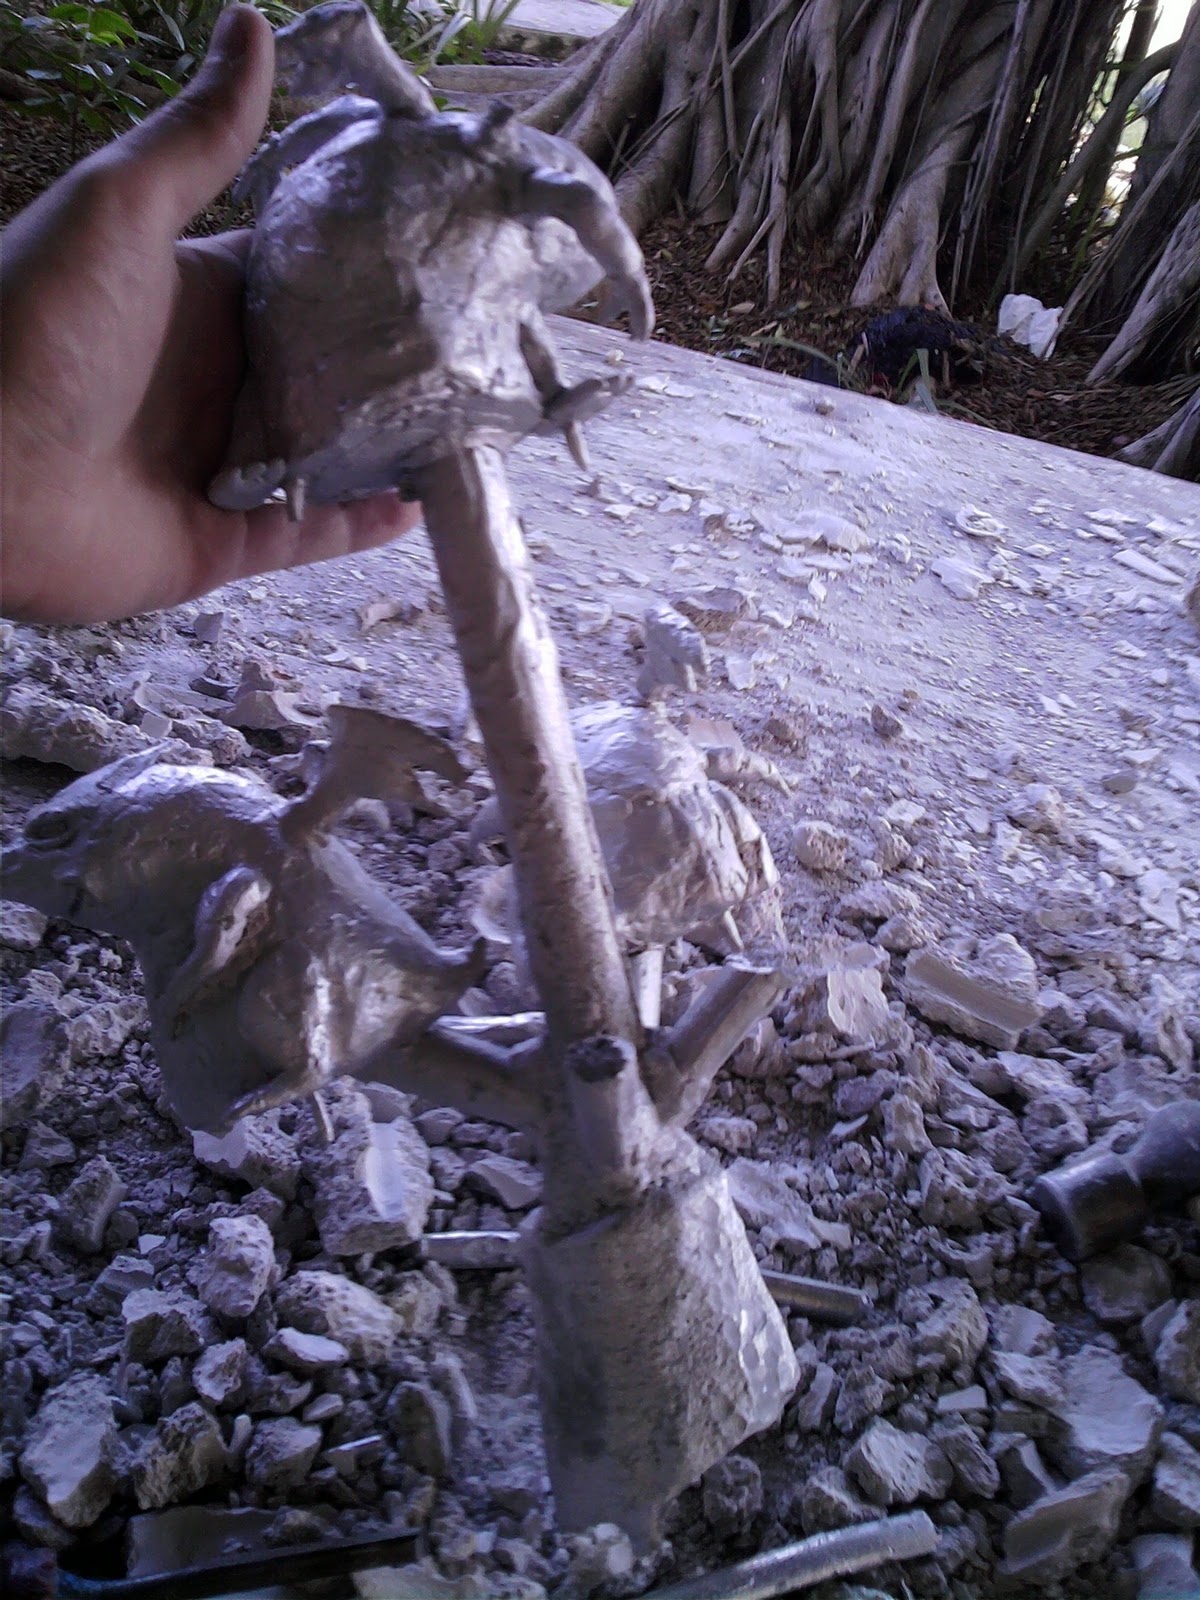
I sprued up the five sculptures into one giant tree. Check it out!


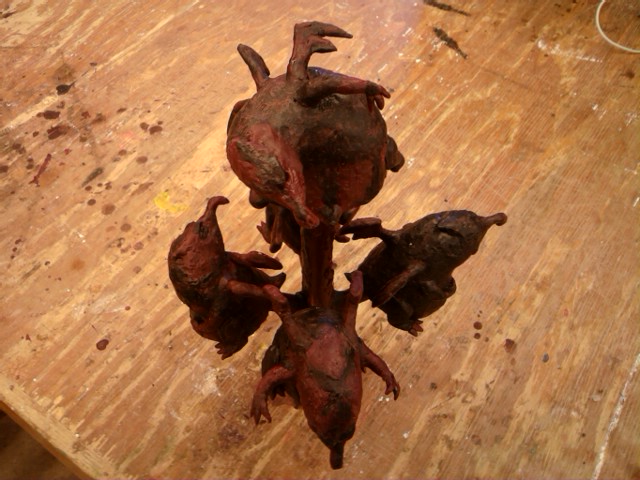
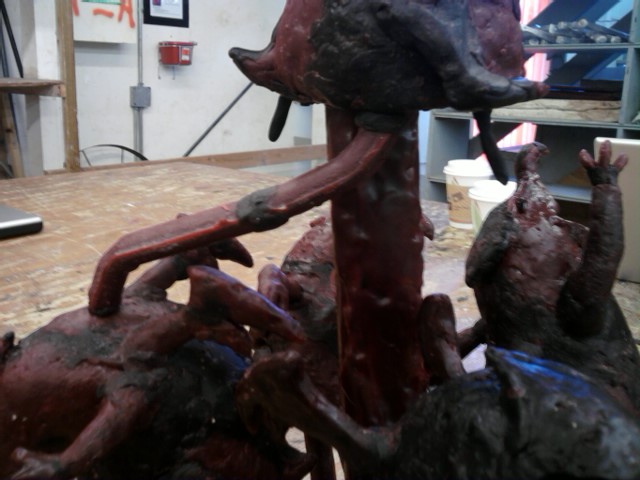
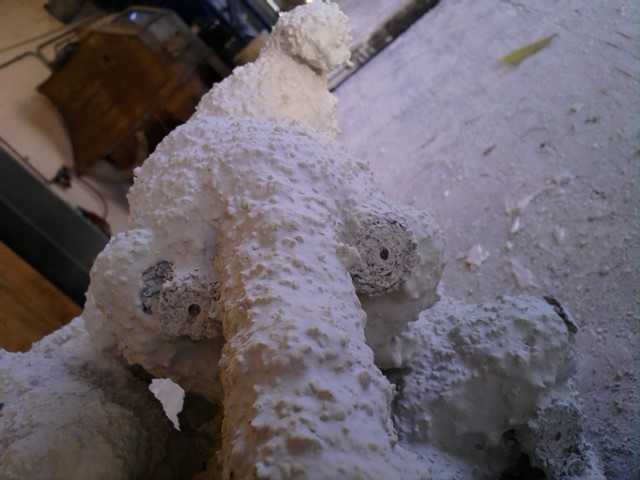
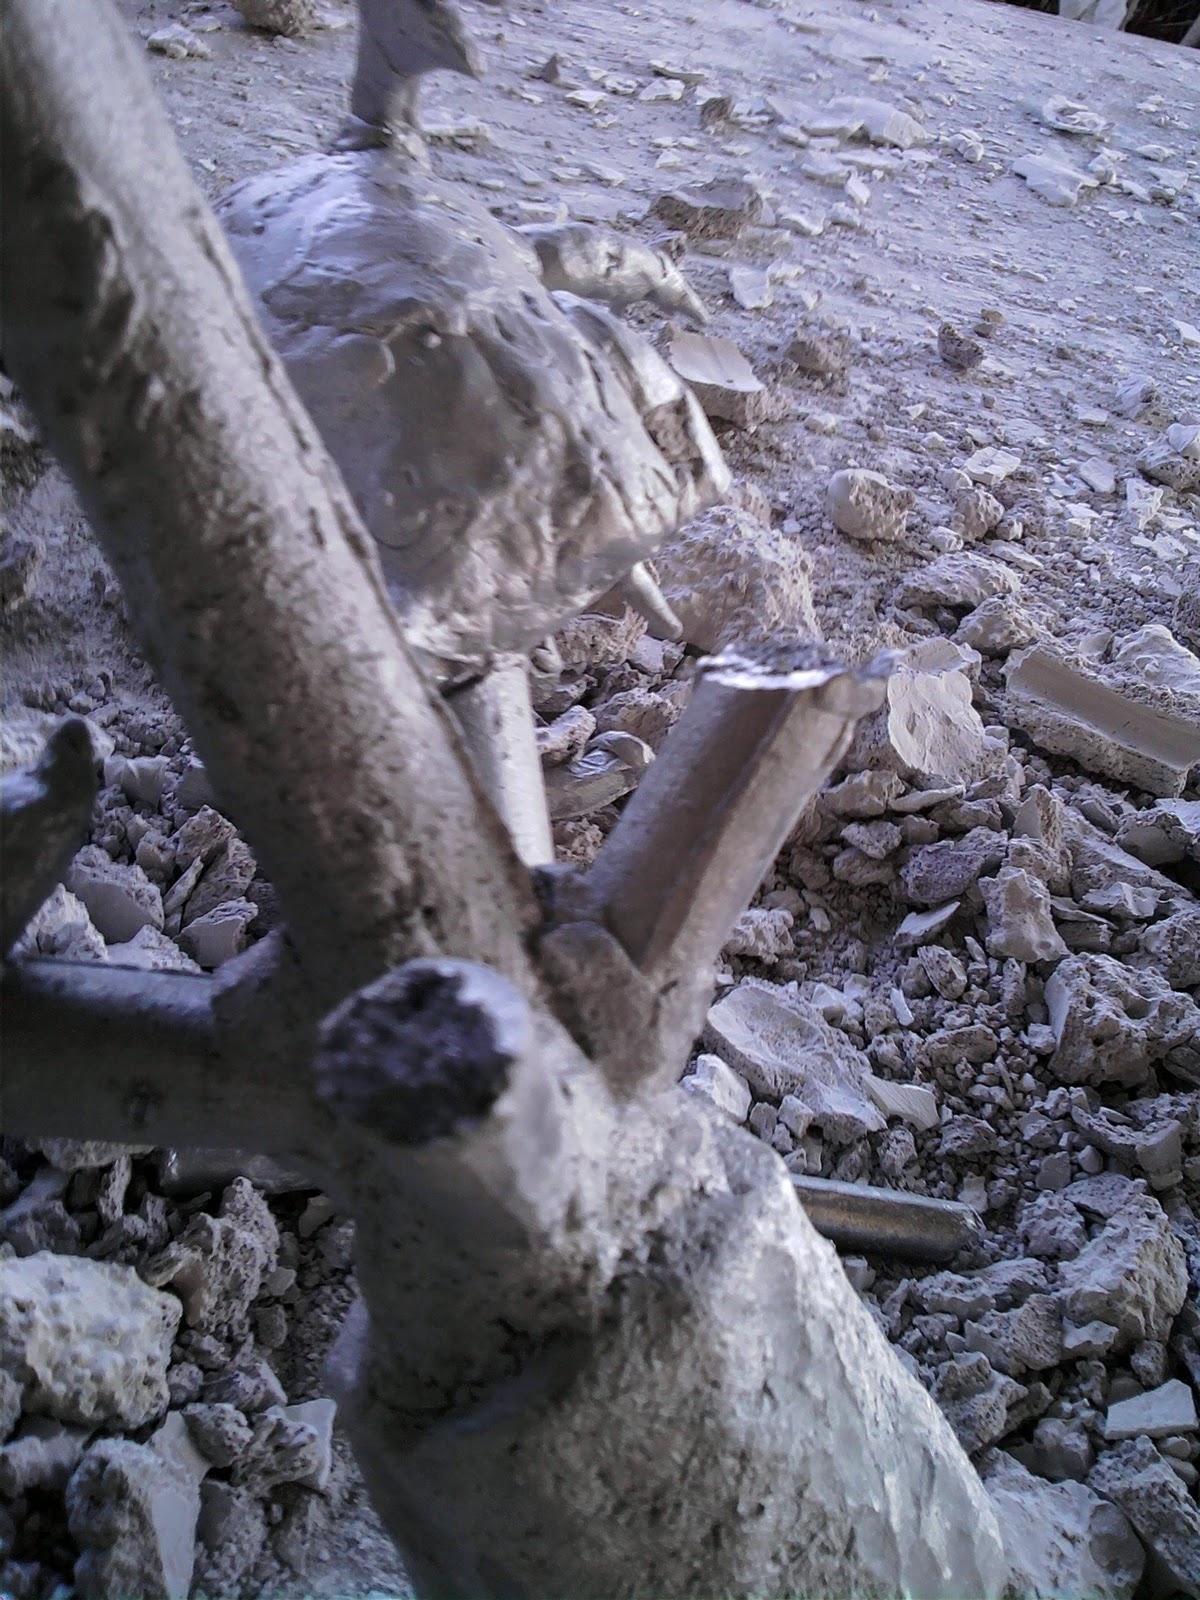
I attached some vents to each sculpture so that when the aluminum gets poured in the air inside has a place to escape.

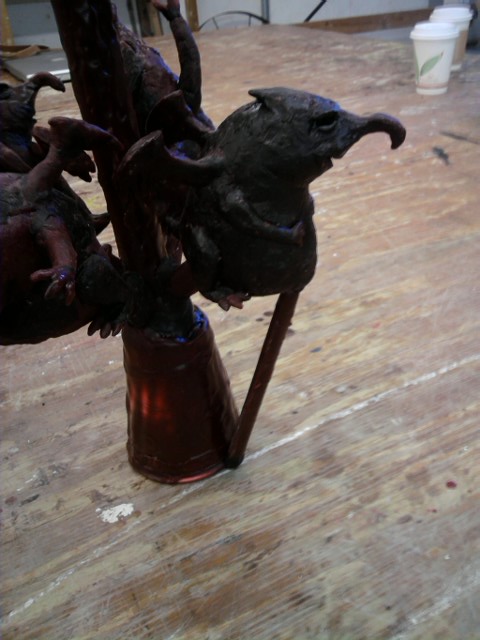
Its kind of hard to see but I attached some small pieces of wax to the bottom of the sculptures. Once I finish making the mold I will grind down the mold to expose the tips of these pieces of wax. This will allow the wax to escape from the mold without expanding and cracking the mold. I’ll have to patch these holes once I finish burning out the wax.

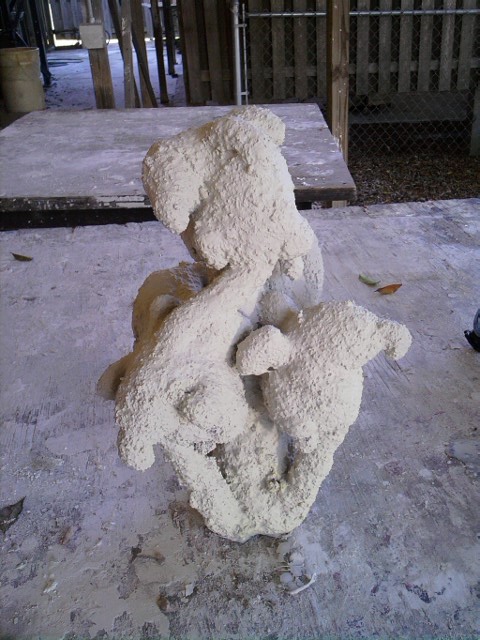
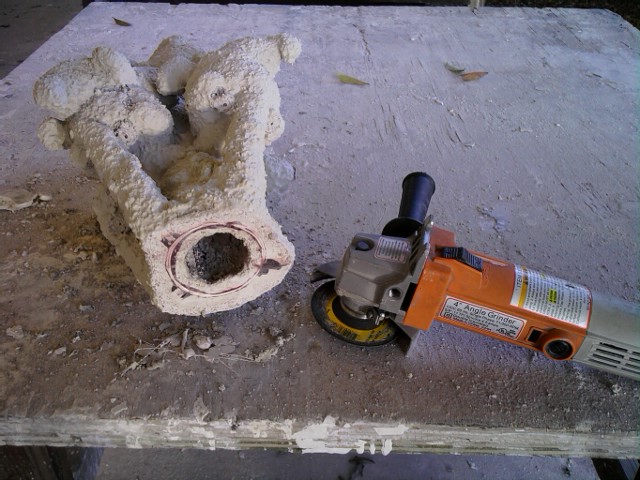
The next step after the mold is made is to grind down the mold to expose the wax coated cup at the opening of the mold. The vents also must be exposed.
I ground down the little nubs from the small pieces of wax I added to the bottom of each gargoyle. This will allow the wax to escape during the burnout process.


Leave a Reply